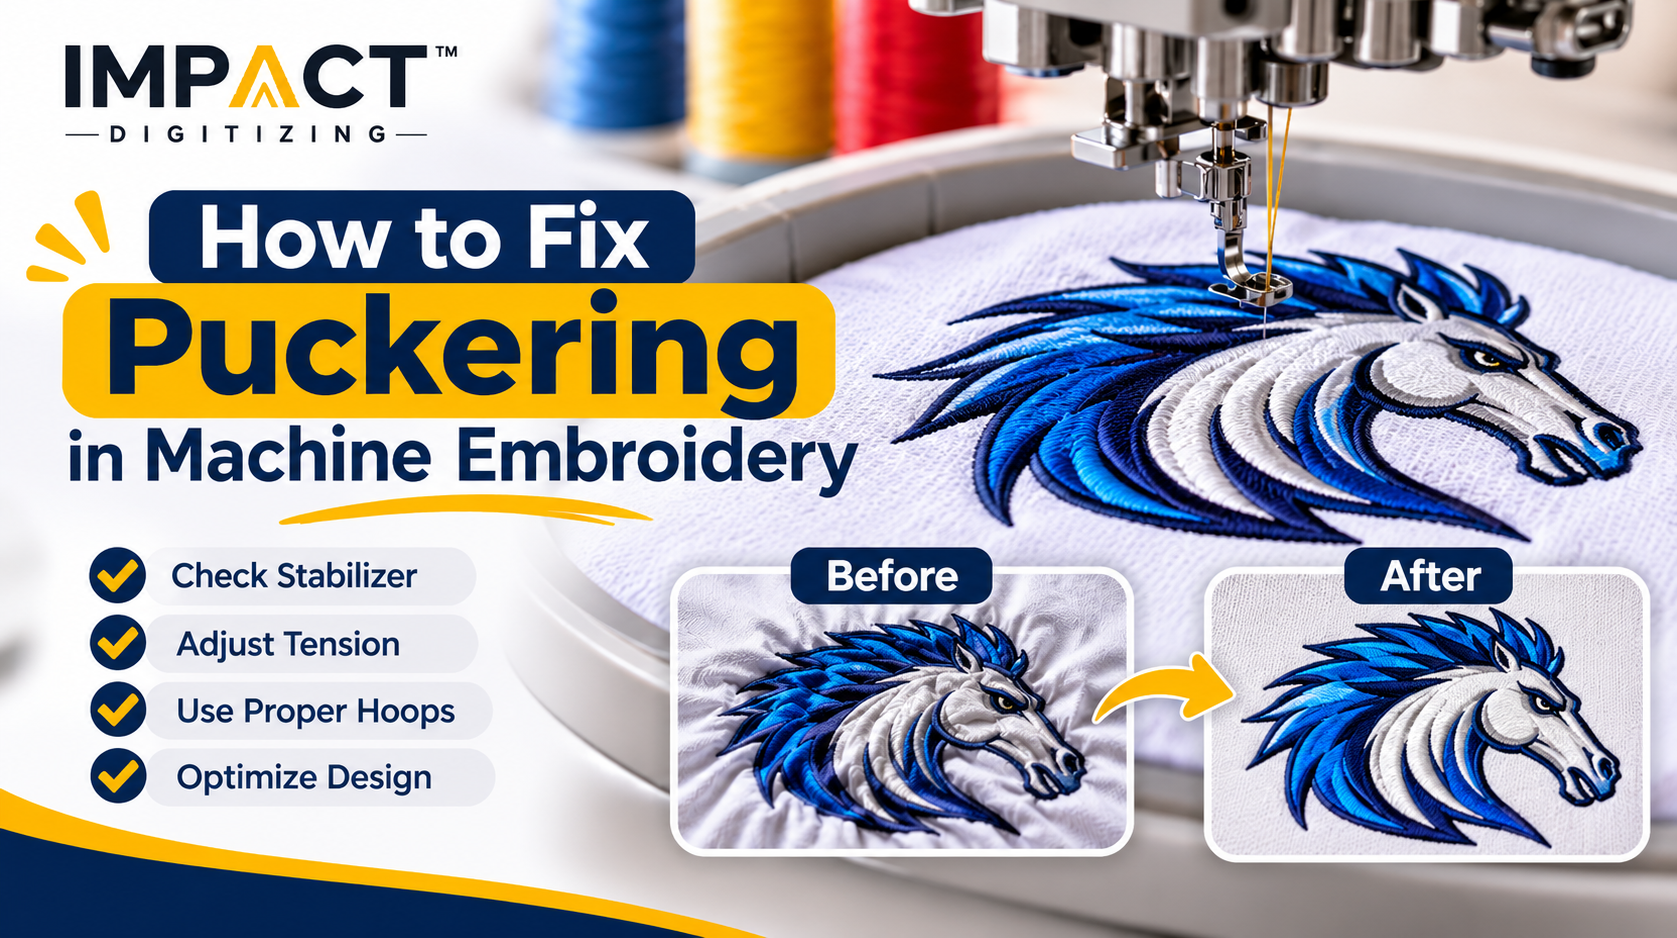
To solve embroidery fabric puckering, assess stabilizer selection, fabric elasticity, needle, tension on the threads, and proper hooping. Stitch density, lack of underlays, and pull compensation contribute to puckering as well. Unhoop without stretching the fabric, match the tension of the top and bobbin threads, and tweak digitizing. Knowing how to fix puckering in machine embroidery results in professionally finished garments.
Why Does Embroidery Pucker? The Core Problem
You need to look at the mechanical physics behind stitch formation to understand why embroidery puckers. Each time the needle penetrates the fabric, thousands of threads contract inwardly, creating a microscopic amount of tension inside the fabric. If the fabric and backing cannot withstand this force, machine embroidery puckering occurs as the fabric shifts and distorts.
Puckering isn’t normally an isolated event. Most of the time, this problem happens as a combination of two to three factors. Normally, the causes of this defect belong to three families:
- Materials: Fabric, needle, and stabilizer.
- Machine Setup: Hooping and thread tension.
- Design & Programming: Density of stitches, underlay, pull compensation, digitizing structure.
The golden rule for troubleshooting how to prevent embroidery puckering is to try changing one thing at a time so you can identify the root of the problem.
Cause 1: Wrong Stabilizer
Wrong backing is the quickest way to mess up a clean design. For example, depending on a light tear-away stabilizer when making a stretchy performance knit or windbreaker will result in total failure because tear-away breaks with the applied tension rather than locking down the fibers.
- Cut-Away: Necessary for knits, highly stretchable clothes, and dense designs. It will stay behind the stitching throughout the lifetime of the clothes.
- Tear-Away: Most suitable for firmly woven materials such as denim and tight cotton canvas when complete elimination is needed with no backing left behind.
- Wash-Away: Suitable for sheer fabric, freestanding lace, and plush fabric (like towels). The stabilizer should wash out entirely from the fabric.
Selecting the correct embroidery stabilizer for puckering prevention based on the garment’s construction is your primary line of defense.
Cause 2: Insufficient Stabilization
Although you have selected the appropriate category of backing, selecting the weight that is too light will cause distortion directly. Large fill areas and high stitch count crests put a lot of physical pressure on the fabric matrix.
- The Warning Sign: The outline of your design appears flat, but the puckering starts at the point where the heavy fill panels connect with the edge.
- Backing Weight Upgrade: Change to a heavier 3.0 oz cut-away from a 2.0 oz cut-away in case of dense designs.
- Floating Secondary Backing: Place an additional layer of backing under the hoop to add strength without affecting the garment’s grain line.
Match your backing material weight with the total number of stitches in your design.
Cause 3: Incorrect Hooping
Improper hooping is among the major physical causes of distortions of clothing. Over-tight hooping and pulling of cloth once it is hooped results to distorting of the weave pattern.
- The Core Problem: Stretching the edges of the fabric tautly like a drumhead pushes the threads beyond their natural state. When removed from the hoop, the threads will contract, resulting in puckering and puckering embroidery.
- Technique Proper: Lay the fabric naturally in the outer ring and press the inner ring down such that it is lying flat like a bedsheet.
- Hooping Size: Hoop using the smallest possible hoop size that can hold your artwork without causing any damage.
It is very important to learn how to hoop at neutral tension to prevent fabric puckering in embroidery work before even putting it through the sewing machine.
Cause 4: Excessive Stitch Density
When too many stitches are sewn per inch, thread-to-thread pressure is created. This pressure makes flexible fabric bulletproof stiff that cannot stand on its own. To solve the problem of embroidery design puckering, the following density adjustment should be made for the fabric:
- Satin Density Standard: Keep satin column density to 0.4mm to achieve stable design.
- Lightweight Adjustments: Reduce density to 0.45mm or 0.5mm for fine text and thin knit embroidery.
- Layer Separation: Avoid placing heavy tatami fillings on top of each other without creating structural spaces.
To find out more about densities and stitch requirements, refer to our guide Fundamental Embroidery Digitizing Tips.
Cause 5: Poor Underlay
Underlay stitches are the backbone structure of a good-quality embroidery file. These stitches control the fabric, keep it in place, and create a raised base for the top stitches to be placed upon.
- The Core Problem: Without an underlay, top satin stitches will cut into the fabric directly, pulling the edges inward and causing rim puckering.
- Foundation Setup: Place center-run or edge-walk underlay to outline borders before top stitches.
- Grid Support: Use open-grid hatch underlays underneath wide, dense fill areas.
Read our full guide on What Is Underlay in Embroidery Digitizing? to master structural foundation settings.
Cause 6: Incorrect Thread Tension
If your top thread tension is too tight, it acts like a pulled drawstring running through the fabric structure. High tension pulls the upper threads down into the fabric, resulting in extreme embroidery tension puckering.
- Tension Symptoms: Excessive puckering on the surface, along with the top thread visible underneath, or the bobbin thread rising to the surface.
- The Scrap Test: Sew a 1-inch satin column test on scrap material and look at the back side.
- Ideal Ratio: Aim for a clean 1/3 ratio on the back: top thread on each outer edge, with bobbin thread filling the center 1/3.
To stop thread snapping caused by high tension, read our breakdown on how to Reduce Thread Breaks in Machine Embroidery.
Cause 7: Pull Compensation Problems
Thread naturally pulls inward along the stitch direction while expanding slightly along the length. Without proper software adjustment, this pull distorts shapes and causes the fabric to gather along the stitching path.
- The Core Problem: Zero compensation leads to the narrowing of the shape and drawing fabric inward through stitching.
- Software Correction: Digitizers apply pull compensation to compensate for the widening of satin lines and fill borders in advance.
- Target Adjustment: Apply from 0.2mm to 0.4mm of compensation to neutralize the inward pull of the thread to keep the final product flat.
Learn how to deal with push and pull effects in our guide about Push and Pull Compensation in Embroidery Digitizing.
Cause 8: Fabric Movement and Stretch
Unstable performance weaves, activewear blends, and light knits present unique challenges on the machine bed. Managing embroidery fabric puckering on flexible materials requires special handling during preparation:
- Resting State: Avoid pulling performance fabric taut while hooping; keep it in its natural resting shape.
- Backing Selection: Use light no-show mesh cut-away backing to preserve fabric elasticity without adding heavy bulk.
- Density Reduction: Lower overall stitch counts by replacing dense solid fills with open, decorative light-density patterns.
For detailed fabric guidance, read our article on how to Choose the Best Fabric for Embroidery and our specialized tutorial on How to Embroider Polyester Fabric.
Cause 9: Wrong Needle
Sewing your fabrics with needles of an incorrect size or kind is damaging to your fabric. The sharp, broken, and heavy needle forces its way through the fibers and doesn’t allow the smooth movement that causes the lumps on your fabric.
- Sharp Needles (75/11 or 70/10): Best for strong fabrics such as canvas, twill, denim, or hats.
- Ballpoint Needles (75/11 BP): Great for knits, t-shirts, and sweaters; the rounded tip moves easily between the loops of yarn instead of poking through it.
- Needle Replacement Time: Every 8 to 10 machine operating hours to avoid micro-puckers created by the worn tip.
Visit our complete machine guide: Needle Chart for Different Fabrics on Embroidery Machines.
Cause 10: Poorly Digitized Design
Even the best machine setup, the best hooping, and the best stabilizer won’t help you fix a design file that was digitized incorrectly. An incorrectly designed file is one of the most annoying reasons for puckering in embroidery.
- Common Flaws: Stitching large fills in the same directional angle or heavy background stitches before fine outline stitches.
- Fabric Ignorance: Applying uniform software default settings without adjusting for specific stretch properties.
- Professional Structure: Proper digitizing builds a balanced path from the center outward, laying down underlay anchors first.
Explore common design pitfalls in our detailed post on Common Mistakes in Digitizing Projects.
How to Fix Puckered Embroidery After Stitching
If you remove the hoop and see that there are some ripples near the design, you can fix puckered embroidery before delivering it to a client:
- Steam and Press: Turn the garment inside out. Place a press cloth on the reverse side of the design. Spray bursts of steam using an iron, without moving the iron along the stitches.
- Trim Excess Backing: Excess backing should be carefully trimmed from near the stitch line (roughly 1/4 inch). The trimming of rigid backing facilitates natural draping of the surrounding fabric.
- Damp Blocking: For materials such as cotton, wet the puckered area surrounding the design. Place the garment on a flat surface and smooth out any puckering with your hands and pin down all edges until completely dry.
Note: If puckering is due to high density and zero pull compensation, pressing only offers a temporary solution. Permanent solutions will require alteration of the digitized file and restitching.
Prevention Checklist
Before you embark on your next run, here’s a fast checklist on how to avoid embroidery puckering:
- Correct stabilizer selection based on the fabric.
- Fabric hooped taut and even, without being stretched.
- Needle size and point type verified for the textile.
- Thread tension tested and balanced on scrap material.
- Design file digitized with proper underlay and pull compensation.
- Test stitching on test sample.
Pro Tip: For stretchable fabrics, the priority is always fusible poly mesh backing, whereas for fragile fabrics, it is always about stitch density.
The Bottom Line
Eliminate puckering at the source with professionally digitized files engineered specifically for your garment type. At Impact Digitizing, we craft custom embroidery digitizing files with precise underlay structures, balanced density settings, and custom pull compensation suited to your exact fabric needs.
Impact Digitizing crafts expertly engineered digitizing files that eliminate fabric puckering through tailored density and underlay controls.
FAQs
1. Why does my embroidery pucker?
Puckering is caused by the tension of the thread pulling the fabric inwards because of a weak stabilizer, tight thread, overstretched hooping, and denser digitizing.
2. How do I stop puckering when embroidering on stretchy fabric?
It includes using cutaway stabilizer, a ballpoint needle, neutral hooping, reduced stitch density, and solid underlay to maintain the flatness of the stretchy fabric.
3. Which stabilizer is best to prevent puckering?
Cut-away stabilizer is perfect for stretchy knits, while stable woven materials, such as denim or canvas, may use tear-away backing.
4. Does hooping too tight cause puckering?
Yes. Hooping fabric too tightly distorts fibers. Unhooping forces them to snap back, creating waves around fixed stitches.
5. Can bad digitizing cause puckering?
Yes. Wrong stitch angles, excessive density, missing underlay, or zero pull compensation cause severe puckering that machines cannot fix.
6. How do I fix puckered embroidery after it’s stitched?
Press the garment from the wrong side using steam and a press cloth; trim the excess backing; or block natural fiber fabric.
7. Does thread tension cause puckering?
Yes, excessive top thread tension behaves like a drawstring. Match upper and lower threads to get a proper 1/3 ratio.
8. Why does embroidery pucker after washing?
Washing reduces the size of the fabric but not that of the polyester thread. Wash garments before embroidering and use cutaway stabilizer.