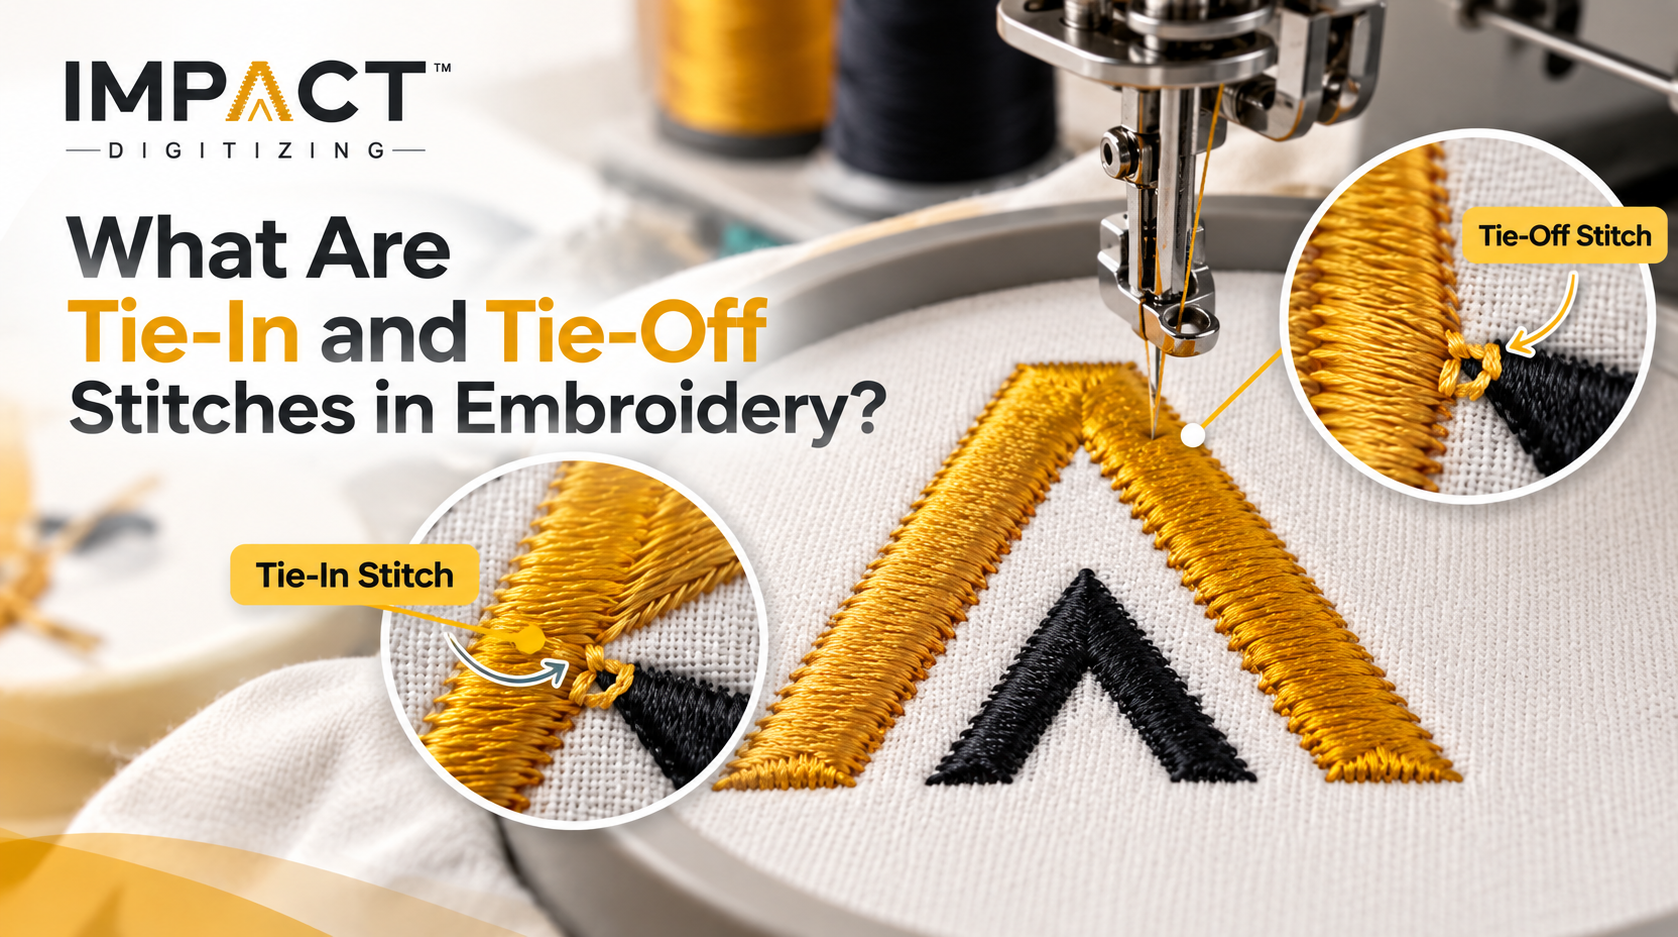
Nothing makes a sewing shop owner more frustrated than removing a newly sewn item from the hoop to find loose threads coming out of it or seeing that a logo has unraveled after just two washes. If you have ever asked yourself, what are tie stitches in embroidery, and how do they make or break the design, the solution is simple: invisible anchor points created in the file itself. Utilizing tie-in and tie-off stitches guarantees that your machine cuts, travels, and sews without forming weak points in your design.
What Are Tie-In and Tie-Off Stitches?
Tie-in and tie-off stitches, often called embroidery tie stitches, are tiny locking stitches placed at the beginning and end of each stitch block. Typically measuring under 1mm in length, these 3 to 5 micro-stitches sit beneath the top surface of the design.
- Tie-in stitches: Anchor the fresh thread before the main section (like a fill or satin column) begins running.
- Tie-off stitches: Secure the thread right before the machine performs a trim, color change, or jump stitch.
When digitized correctly, these tiny structures remain entirely invisible under the main surface while holding the whole piece together. For a broader look at how these fit into overall file design, explore our guide on Types of Stitches in Embroidery Digitizing.
Why Tie Stitches Matter in Embroidery Digitizing
Machine embroidery puts continuous tension on top thread and bobbin lines. Without properly built-in securing points, embroidery runs a severe risk of unraveling the second high-speed automatic trimmers engage.
- Prevent Pull-Outs: Automatic trims exert a swift tug; unsecured thread tails simply pop right through the fabric.
- Protect Small Details: Intricate elements and fine text suffer immediate distortion if the boundary stitches lose their anchor.
- Save Money and Material: Eliminating unravelling cuts down on rejected garments, costly re-runs, and wasted thread on commercial floors.
Understanding how to eliminate these failures is key; learn more about how to Reduce Thread Breaks in Machine Embroidery during daily operations.
Tie-In Stitches vs Tie-Off Stitches: Key Differences
Mastering precision file preparation requires understanding how entry and exit anchors differ in execution.
| Feature | Tie-In Stitch | Tie-Off Stitch |
| Placement | Start of a stitch section | End of a stitch section |
| Purpose | Anchors new thread before stitching | Locks thread before trim/jump |
| Stitch Length | 0.3–0.8 mm, angled | 0.3–0.8 mm, angled |
| Visibility | Hidden under following stitches | Hidden under underlay or fill |
| Skipped When | Continuous run without a break | Continuous run without a break |
Note: Always verify stitch-length ranges against your specific digitizing software defaults before sending files to production.
How Tie-In/Tie-Off Stitches Prevent Thread Unraveling
When the needle punches into fabric, friction alone will not hold smooth rayon or polyester thread long-term. Correctly placed entry and exit nodes cross over themselves, creating a mechanical knot within the backing material.
This structure allows you to prevent thread unraveling and embroidery issues on difficult materials like terry cloth, performance polyester, or unstructured caps that flex heavily during wear. Locking these nodes properly also prevents “birdnesting,” the hazardous buildup of loose loops under the needle plate.
To ensure your anchors remain locked without distorting delicate shapes, balance them with proper structural rules. Read our deep dive into Push and Pull Compensation in Embroidery.
Common Embroidery Stitch Types That Use Tie Stitches
Different embroidery stitch types require distinct tie-in and tie-off strategies to ensure stability without creating bulky lumps:
- Satin Stitch Columns: Requires a firm tie-off before every color jump or section break to prevent side-pull unraveling.
- Tatami / Fill Stitches: Need precise tie-in stitches buried beneath the starting edge so the density hides the entry knot.
- Running / Walk Stitches: Used heavily for outlines; while less prone to unraveling, short running lines still require subtle lock points at termination.
- Knockdown Stitches: Base layers used to flatten textured fabrics must be locked tightly before the top elements stitch down. See our breakdown on What Is a Knockdown Stitch? for details.
How Professional Digitizers Place Tie Stitches Correctly
Relying purely on auto-digitizing functions often leaves bulky knots on fine fabrics or misses anchors entirely on manual path adjustments. Professional digitizers follow strict rules when setting up machine locks:
- Angle Away From Pull Direction: Placing locking micro-stitches perpendicular or angled to the main stitch path locks the loop tighter under tension.
- Hide Anchors Beneath Geometry: Always anchor inside the interior boundary of a shape, covering the lock with top stitching or underlay.
- Match Fabric Characteristics: Performance knits demand slightly longer, gentler locks, whereas heavy denim can hold shorter, tighter micro-stitches.
- Software presets: Utilizing tools like Wilcom, Embird, and Embrilliance while relying on manual pathing for perfection.
What Happens When Tie Stitches Are Missing or Wrong
When digitizers overlook securing stitches in embroidery, machine performance drops sharply on the shop floor:
- Thread ends poke up through top fills after trim cycles.
- Registration shifts occur as unsecured elements drift out of alignment.
- Frequent mid-run thread breaks force machine operators to manually back up and re-stitch sections.
Tie-In/Tie-Off Best Practices Checklist
Follow this quick checklist to prevent material defects and loose threads across all your production runs:
- Place tie stitches at every single color change, manual trim, and jump point.
- Angle micro-stitches away from the primary direction of stitch pull.
- Shorten stitch length on delicate, thin, or high-stretch garments.
- Verify that underlay coverage fully covers all planned anchor locations.
- Perform a quick test-stitch on scrap backing before mounting production items.
How Impact Digitizing Handles This in Every File
At Impact Digitizing, an industry-leading Embroidery Digitizing Company, we never rely on automated software defaults to handle critical path transitions. Every file is manually reviewed by experienced digitizers who place precise tie-in and tie-off locks tuned specifically to your target fabric, whether you are sewing on thick terry towels, structured caps, or thin performance wear.
We stand behind our stitch quality: if a design ever unravels or fails on your machine due to a digitizing error, we fix it with free, instant revisions.
Conclusion
Mastering these essential locking techniques is the ultimate safeguard against unravelling garments and production downtime on the shop floor. By placing microscopic, angled locking nodes at the start and end of every stitch block, professional digitizers secure thread tails beneath surface elements. Implement these best practices to ensure flawless, durable runs on every fabric.
FAQs
What are tie-in and tie-off stitches?
Tiny locking stitches under 1mm placed at the start and end of stitch blocks to secure threads.
Why are tie stitches important in embroidery digitizing?
They prevent thread tails from pulling out during high-speed automatic trims and heavy industrial laundering.
What happens if a design has no tie stitches?
Thread ends unravel, details distort, and unsecured tails poke through top fills after trim cycles.
Are tie-in/tie-off stitches the same as lock stitches?
Yes, they are essentially microscopic locking stitches or lock stitches used to anchor thread.
Can tie stitches be added to a design manually?
Yes, professional digitizers use manual pathing in software to place hidden, angled anchors precisely.
Do all embroidery designs need tie-off stitches?
Most sections requiring a trim, color change, or jump stitch need them to prevent unravelling.