The embroidery machine often requires you to convert patterns into stitch-ready files. You might need to convert a common image to a file format that your computer can understand into a particular stitch-ready file format. Many beginners want to change a PNG image into a file that can be used in embroidery programs. With professionally digitized designs from Impact Digitizing, this process becomes smoother and more accurate.
This guide explains things clearly and simply, so you can easily create neat and easy-to-read designs without any worry, using a PNG to DST.
What Is a DST File?
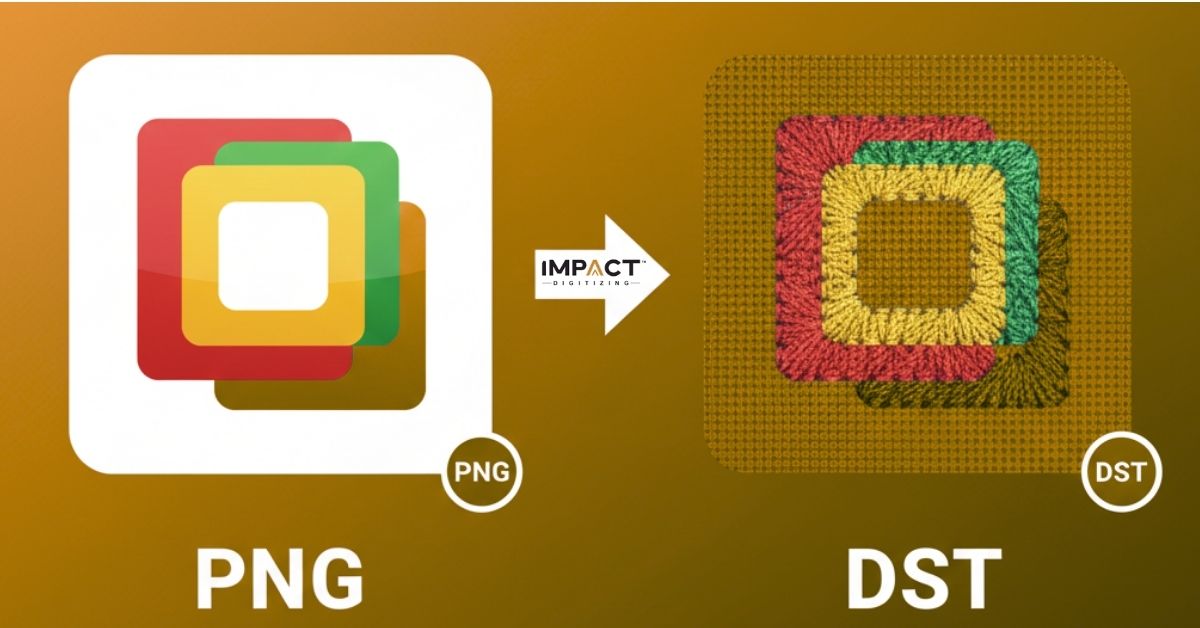
A DST file is used by embroidery machines to understand stitching instructions. It doesn’t keep colors or layers as a normal picture does. Instead, it has tiny movement instructions that help show where each needle should go. These commands help the machine make stitches, cut threads, and move around.
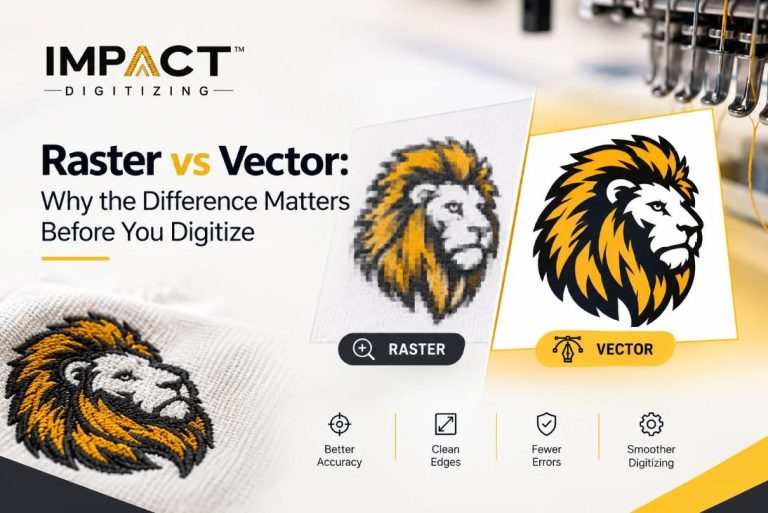
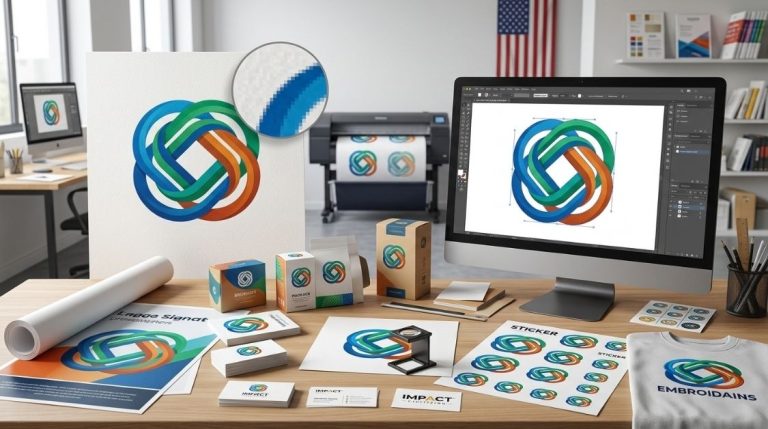
Most PNG images contain information about colors and shapes. Since they use pixels, they need to be converted into digital form before they can be sewn together. Digitizing creates the sewing pattern needed for the final DST file. Using a PNG to DST file converter ensures this step is done accurately. If you’d like the full picture of how machines read different formats, see our guide on understanding embroidery machine file types.
Why You Can’t Directly Save a PNG as DST
A PNG is just a picture. A DST file is a guide for how to sew designs. They operate in various ways. You can’t keep one the same as the other unless you use embroidery software. We need to digitize because the software must understand shapes, trace the design, and decide how the needle should move on the fabric. This is why PNG to DST converter tools are essential for beginners.
Free Ways to Convert PNG to DST
If you’re just getting started or only need to convert a design occasionally, you don’t need to buy software right away. Here are the most reliable free options:
1. Ink/Stitch (free, open-source):
Ink/Stitch is a free extension for Inkscape that lets you turn vector shapes into embroidery stitches, then export them as DST. It has a real learning curve, but it’s the closest thing to professional digitizing software that costs nothing. Works best if you first convert your PNG to a vector file, since Ink/Stitch reads vector paths, not raw pixels.
2. Free online PNG to DST converters:
Several web-based tools claim to convert PNG to DST instantly. These are fine for very simple, low-detail designs (basic text or bold shapes), but quality drops fast with anything that has fine detail, gradients, or small text. Always preview the stitch file before sending it to a machine.
3. Free trials of paid software:
Programs like Wilcom, Hatch, and SewArt offer time-limited free trials. If you only need to convert one or two designs, this can be a practical shortcut; just be aware that the output usually needs manual cleanup either way.
Free vs Paid: Which Should You Use?
| Free Tools | Paid Software | |
|---|---|---|
| Best for | Simple logos, occasional use | Detailed designs, regular/commercial use |
| Stitch quality | Basic, often needs manual fixing | Precise control over stitch type, density, angle |
| Learning curve | Steep (Ink/Stitch) or very limited (online tools) | Moderate, but built for the job |
| Editing control | Minimal | Full control over underlay, pull compensation, and paths |
| Cost | $0 | $99–$1,000+ depending on software |
A free tool is a good starting point to learn how the process works. For anything client-facing, detailed, or commercial, a professional digitizing service will save you far more time than it costs.
Tools You Need Before Starting
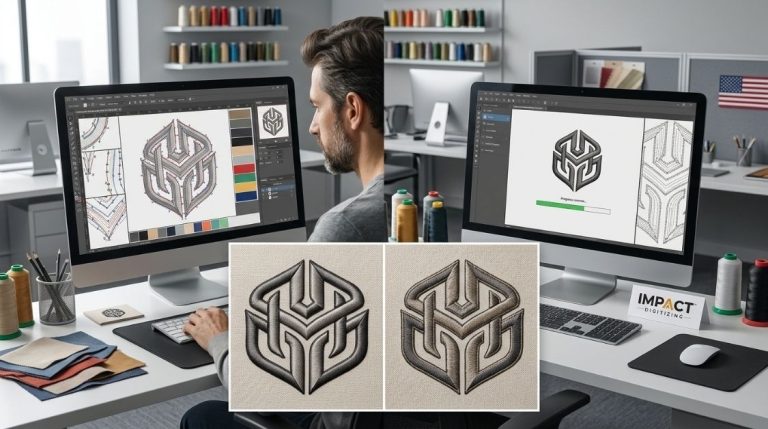
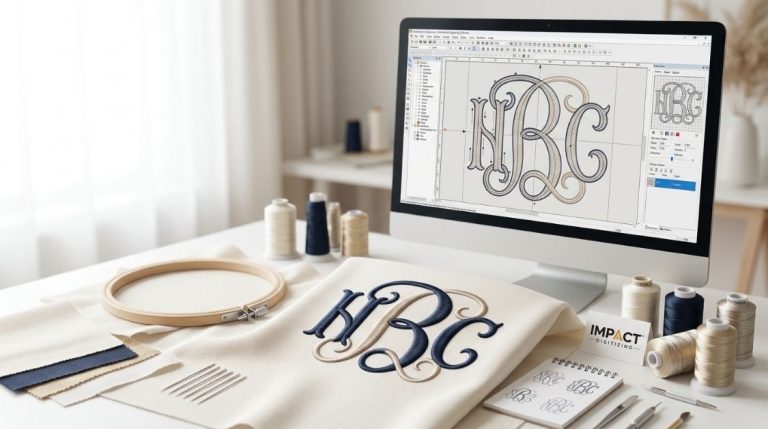
You will need software to convert designs for embroidery. Many choices have easy-to-use tools for beginners as well as more advanced tools for experienced users. Professional digitising software like Wilcom is commonly used to convert PNG designs into stitch-ready DST files.
Check for options like editing stitches, controlling how tight the stitches are, and changing colors. Check that the software can save files in DST format.
Some software can convert PNG to DST; however, you have to keep in mind that automatic outputs are seldom perfect. That means for an ideal result, using an automatic converter with some manual editing is highly recommended. Using a PNG to DST converter helps simplify this process.
How to Convert PNG to DST Step-By-Step
Learn how to turn your PNG image into a DST file for embroidery machines. Follow these simple steps to prepare, digitize, and export your design accurately.
Step 1: Import Your PNG Image
Start your embroidery program and add your design. Look at the image quality. Sharp edges make it easier to digitize things. If the picture has small details, make the design simpler so the stitches look nice. Use a reliable PNG to DST converter at this stage if needed.
Step 2: Clean and Prep the Artwork
Get rid of extra colors or distractions. Make the lines even where it’s necessary. This step helps the software understand the shape better when you start digitizing.
Step 3: Set Your Hoop and Stitch Preferences
Pick the size of the hoop that your embroidery machine needs. Next, choose the kind of stitch paths you want. Satin, fill, and running stitches are good for different parts of a project. Good planning helps to lower thread breaks and makes the results more even. Make sure your settings are ready before you convert PNG to DST.
Step 4: Digitise the Design
Start drawing the shapes, giving every section a stitch type. Also, to obtain a good, smooth finish, the stitch angles should be changed. Always keep the thickness of the cloth uniform so that no creases occur in the process. This takes longer because every design needs careful planning. This step is essential to ensure a smooth process when you convert PNG to DST.
Step 5: Review and Edit the Stitch Path
Look closely and see the order. Check for any extra pieces or sections that should be taken off. Change any spots where stitches cross each other or seem too tight. Good digitizing helps the DST file work well.
Step 6: Save and Export as DST
When the stitching looks right, save the file. One-click conversion of PNG files into DST files is an option in your software. Choose the right settings, and then save them to a folder on your computer. A PNG to DST file converter can help finalize this step efficiently.
Common Problems When Converting PNG to DST (and How to Fix Them)
- Missing or broken stitches: usually caused by low-resolution source images. Start with the highest-quality PNG you have.
- Puckering or fabric distortion: often from stitch density set too high for the fabric type. Lower density for lightweight fabrics.
- Thread breaks mid-stitch: check for overly small text or fine details that are too intricate to stitch cleanly; simplify the design instead.
- Colors merging incorrectly: happens when the original PNG has too many similar shades. Reduce your color palette before digitizing.
If these keep happening even after adjustments, it’s usually faster (and cheaper in wasted thread/fabric) to have the file professionally digitized.
Conclusion
Once you know how to perform the basic steps, changing your artwork from a PNG file to a format ready for stitching isn’t that hard. With a good tool, a simple process, and a little practice, you’ll be able to create some nice embroidery either for yourself or for your customers. For better control over details, take a look at a PNG to DST converter or a PNG to DST file converter that allows editing by hand. This helps you in making your final result clear and correct.
For smoother stitching and cleaner designs, let Impact Digitizing handle your file prep with expert precision.
FAQs
How do I convert a PNG to a DST file?
Place your PNG file into the embroidery software and create your design. Save the stitch pattern onto a DST file for your machine.
How do I make my own DST file?
Make or bring in designs using digital software and choose the types of stitches. Save the finished stitch design as a DST file.
What is the DST file format?
DST is a type of file used for embroidery that keeps track of stitch instructions and needle movements. It doesn’t store picture or color information like a PNG file does.
What are common problems with DST files?
Common problems are missing stitches, uneven patterns, or broken threads. Problems often happen because the digital copies are low quality or have small details.
How to open and edit DST files?
Open the DST file in the embroidery software to see and change the stitch pattern. After you finish editing, save the new file for stitching.
Is there a free way to convert PNG to DST?
Yes. Ink/Stitch and several online converters can convert simple PNG designs to DST at no cost, though quality is limited compared to paid software.