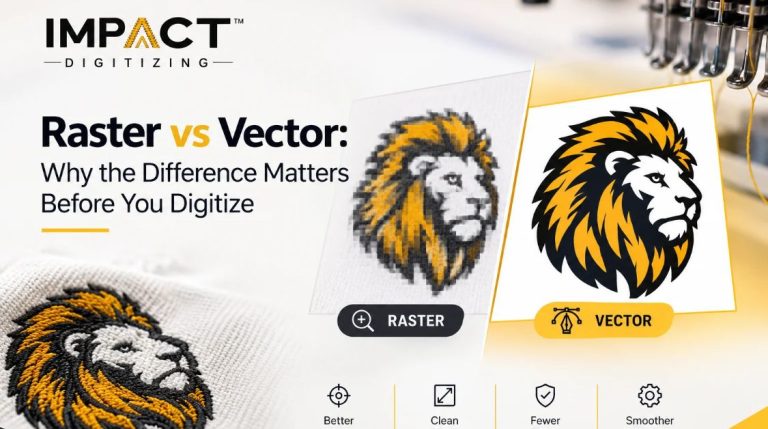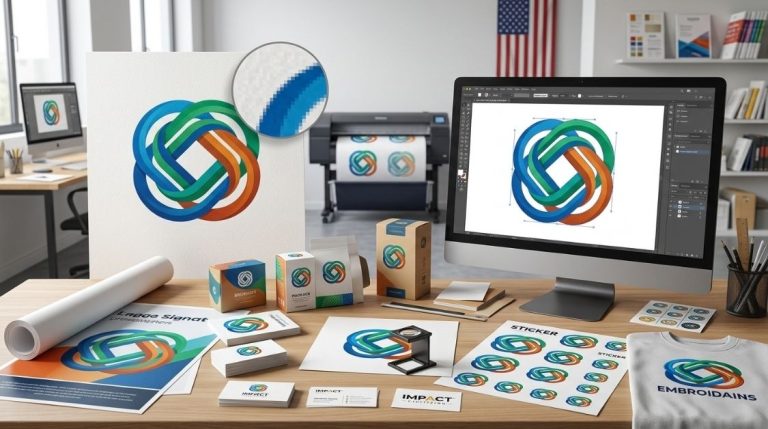
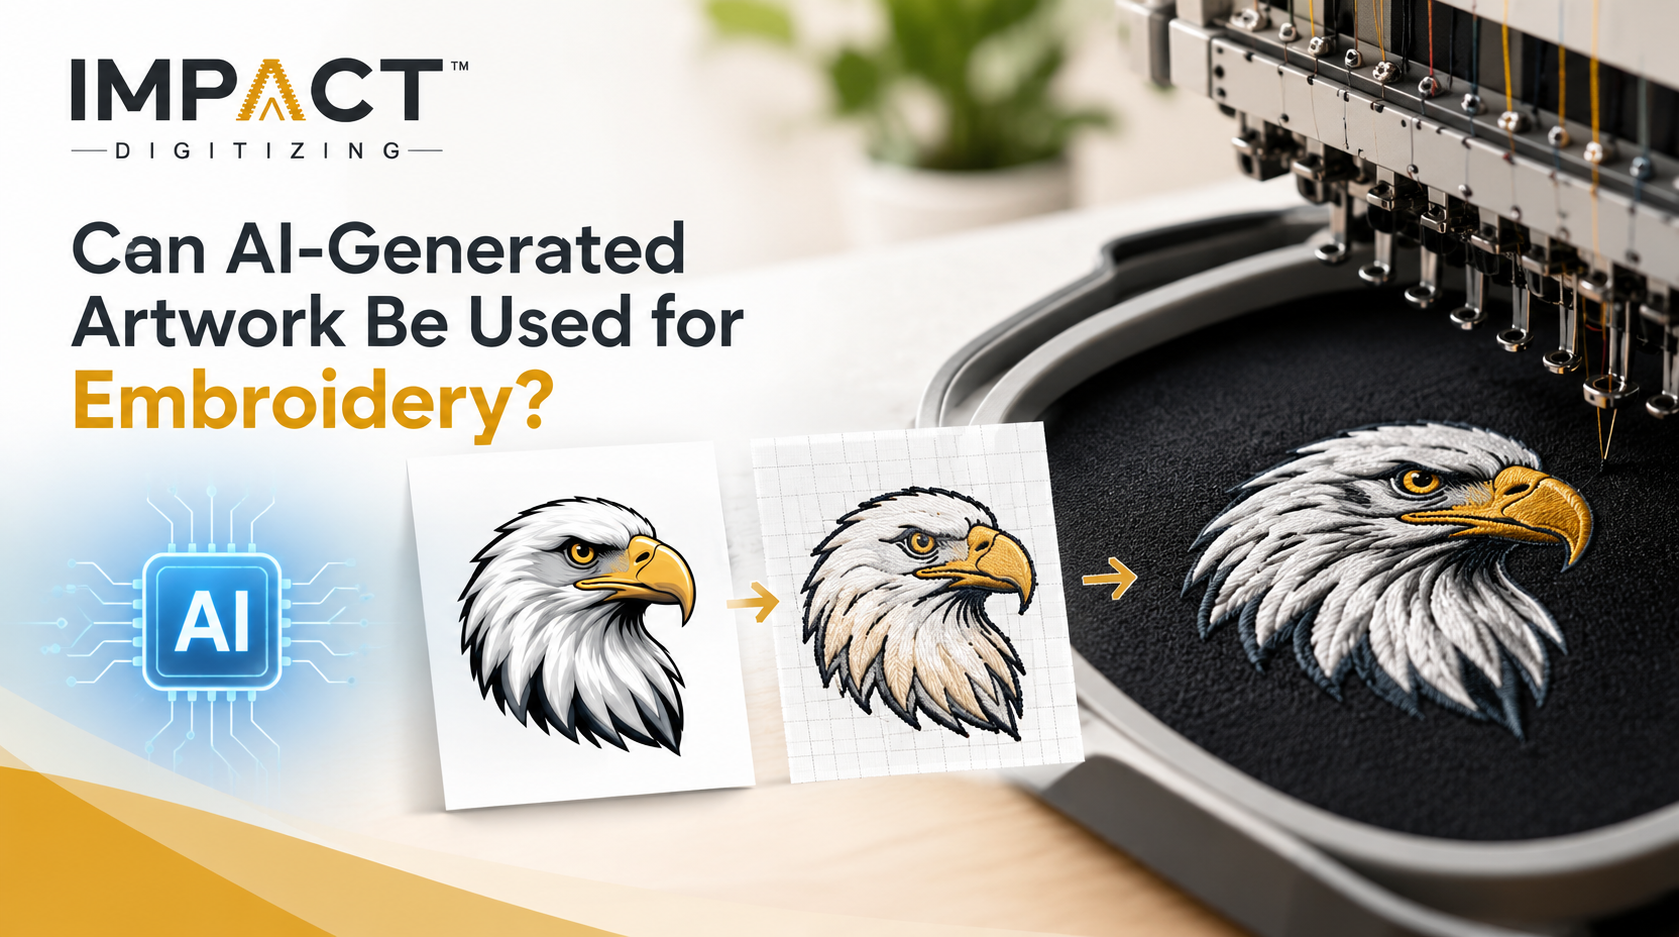
AI-generated artwork embroidery is fully achievable, but you cannot transfer a raw digital image directly to an embroidery machine. Generative AI creates raster graphics made of pixels, whereas embroidery machines require vector graphic stitch directions. To bridge this gap, converting AI designs into machine-readable formats requires a specialized process called digitizing.
Can You Really Use AI Art for Embroidery?
To embroider an AI image, you need to turn dots into vectors. Artwork digitizing serves as a link between them, since it groups shades and specifies the directions of threads. Yet AI generators often produce gradients, small details, and floating artifacts, which confuse automation software. So while AI-generated pictures make excellent blueprints, they almost always need some cleaning up to be ready for production. For a professional outcome, you still need correct file transformation via an Embroidery Digitizing Company.
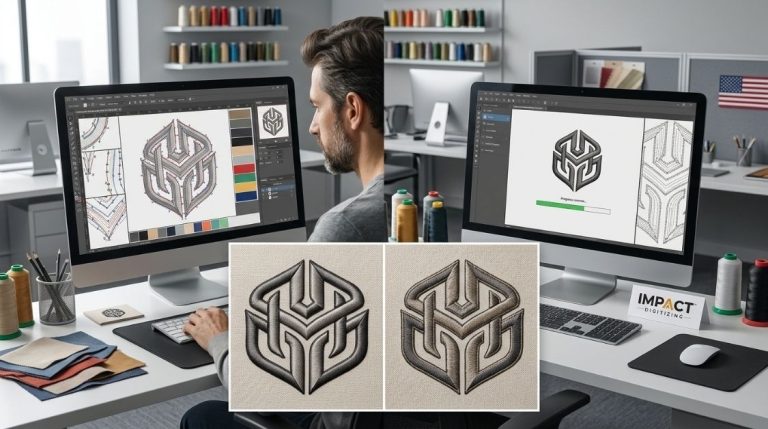
How AI-Generated Artwork Becomes an Embroidery File
Converting an AI image to an embroidery file format requires transforming the concept into a layout using physical threads. The key to ensuring good stitches is through a workflow process that needs to be precise.
For effectively digitizing AI-generated images, your workflow would look something like this:
| Step | What Happens | Tool Type |
| 1. Generate artwork | Create concept art with bold features | Midjourney / DALL-E / Canva AI |
| 2. Clean up & simplify | Remove artifacts, flatten colors, sharpen text | Vector editor (Illustrator, Photoshop) |
| 3. Convert to stitches | Calculate stitch directions, types, and underlays | Auto-digitizing software / Digitizer |
| 4. Export stitch file | Output machine-readable code | DST, PES, EXP, JEF |
| 5. Test sew-out | Run a sample stitch-out on target fabric | Physical embroidery machine |
Want to learn more about the mechanics behind this process? Read our comprehensive guide on What Is Embroidery Digitizing?
What Makes AI Art Easy (or Hard) to Digitize
Not all creative output translates smoothly into thread. When evaluating artwork for digitizing, the structure of the image dictates whether the final piece looks crisp or cluttered.
Easy to Digitize
- Bold, flat-color illustrations with distinct outlines
- Simple brand marks and vector-style mascots
- High-contrast artwork with fewer than 6–8 total thread colors
Hard to Digitize
- Photorealistic portraits featuring heavy color blending
- Soft gradients, drop shadows, and glowing effects
- Fine, overlapping text or micro-details below 4mm in height
Pro Tip: Keep satin stitch widths under 4mm. Excessively wide stitches cause fabric puckering, while tiny stitches bunch up into thread nests.
Best AI Embroidery Design Tools Compared
Selecting the right workflow depends on your quality requirements, budget, and project scale. When exploring AI embroidery design tools, you will find three main approaches for AI art for embroidery digitizing.
| Tool Category | Best For | Manual Control | Typical Turnaround |
| Auto-digitizing AI software | Simple shapes, quick drafts | Low | Instant / Minutes |
| AI-assist inside desktop software | Intermediate designs, semi-pro work | Medium | 1 to 2 Hours |
| Professional digitizer (AI-reviewed) | Detailed AI art, corporate logos | High | Same Day – 48 Hours |
For an in-depth breakdown of current software options, check out our guide on the Best AI-Powered Embroidery Digitizing Tools. If you prefer hands-on editing software, explore the Best Digitizing Software for Beginners.
Step-by-Step: Turning an AI Image Into a Stitch File
Follow these steps to convert an AI image to an embroidery file format smoothly without losing quality:
- Generate or select high-resolution art: Output your AI graphic at 300 DPI or higher to ensure clear edge definition.
- Clean up artifacts: Remove floating pixels, extra limbs, or garbled background noise using image editing software.
- Simplify and flatten colors: Convert continuous gradients into solid color blocks.
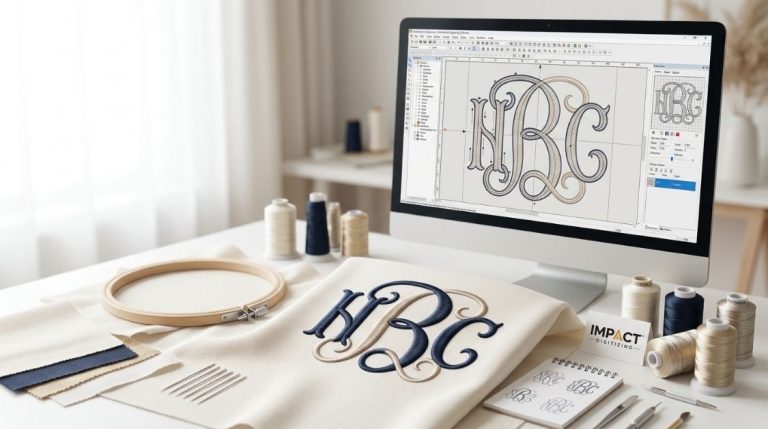
- Digitize AI-generated images: Process the file through software or hand it to an expert to assign stitch types (satin, fill, or running stitches).
- Inspect the stitch preview: Review density settings, pull compensation, and color sequence order.
- Perform a sample sew-out: Always test the file on scrap fabric matching your final garment material.
For software recommendations to complete these steps, visit our review of the Best Programs to Digitize Embroidery Designs.
AI-Generated Logo Embroidery: A Special Case
AI-generated logo embroidery on uniforms or promotional merchandise is rapidly becoming an industry standard. AI logo generators work exceptionally well with clean shapes, making them easier to process than artistic portraits.
However, watch out for common AI quirks like thin outer strokes, unreadable fonts, or subtle background fills. Once cleaned up, an AI logo translates quickly into clean stitch paths, making it one of the most reliable applications of generative graphics today.
Common Problems With AI Artwork Digitizing (and Fixes)
When handling AI artwork digitizing, you may encounter technical issues stemming from how generative models produce images. Using AI embroidery digitizing workflow adjustments helps fix these errors early.
| Problem | Why It Happens | Practical Fix |
| Blurry boundaries | Low resolution or anti-aliasing | Re-vectorize image with sharp vector outlines |
| Garbled lettering | AI text generation errors | Re-type text using standard font files |
| Unstitchable gradients | Thread comes in solid colors | Flatten shading into 3–5 distinct thread bands |
| Puckered fabric | High stitch density or wide satin areas | Adjust pull compensation and reduce density |
| Unrecognized file format | Exported as standard raster image | Convert output to machine formats (DST, PES, EXP) |
When to Use AI Alone vs Hire a Professional Digitizer
Choosing automated tools vs professional services comes down to your project’s risk level.
- Use AI tools alone for: Quick pictures, simple personal things, or basic one-color designs.
- Hire a professional digitizer when: Making client orders for embroidery, doing large production runs, working with structured caps, or dealing with detailed artwork that has text.
Impact Digitizing turns your AI artwork ideas into manual edits that guarantee perfect production on any embroidery machine.
Conclusion
AI-generated art provides an excellent starting point for custom embroidery, but the transition from pixels to threads demands proper cleanup and digitization. Can AI images be embroidered directly? No, but by understanding software constraints and reducing the complexity of gradients, you can ensure your digital concept translates seamlessly into a physical masterpiece.
FAQs
Can AI-generated artwork be digitized for embroidery?
Yes, but it requires cleaning, vector conversion, and professional digitizing software.
Does AI-generated art need to be converted to vector first?
Yes, raster pixels must become vector paths for machines to read them.
What are the limitations of using AI artwork for embroidery?
Gradients, micro-details, and floating artifacts confuse automated embroidery software.
Is it safe/legal to embroider AI-generated designs commercially?
Generally, yes, depending on the platform’s terms and lack of copyright infringement.
How do digitizers prepare AI artwork for stitching?
They simplify colors, remove artifacts, and assign specific stitch paths.
Can AI fully automate the embroidery digitizing process?
Not for complex designs; human clean-up and manual adjustments are usually required.