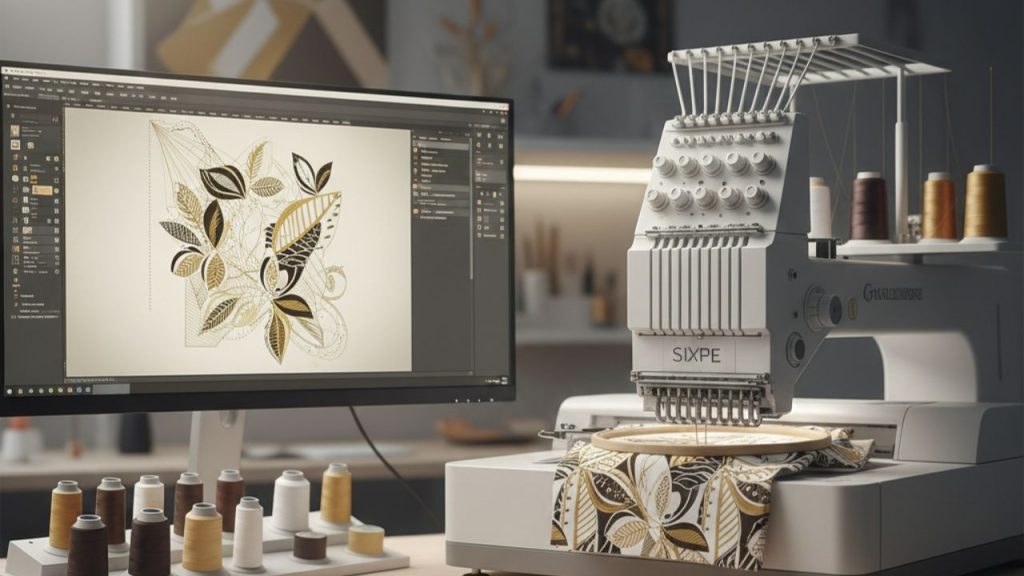
To turn art into stitches on fabric, embroidery requires specific instructions that the machine follows. These instructions are saved in file formats that tell the machine exactly how to create the design.
Let’s take a closer look with Impact Digitizing at what these file types are, why they matter, and how to choose the best one for your projects.
What are Embroidery File Formats?
Embroidery file formats are special types of digital files that tell machines exactly how to stitch a design. These files include a set of instructions, like:
- Stitch Type: Whether the stitches should be straight, satin, or filled.
- Stitch Order: The sequence in which the machine should stitch the design.
- Color Changes: When the thread should switch to a different color.
- Thread Density: How close or far apart the stitches should be.
- Jump Stitches: Instructions for the machine moving to a new area without stitching.
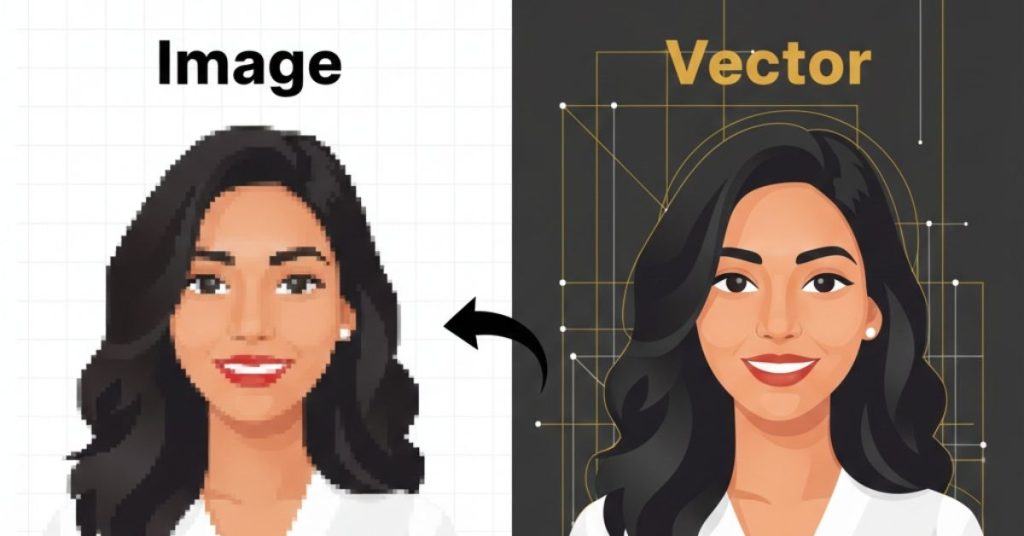
Just like how a regular image might be saved as a JPEG, PNG, or GIF file on your computer, designs are saved in specific file formats that the machine can read.
Why are Embroidery File Formats Important?
Embroidery file formats are crucial for several reasons:
Machine Compatibility
Different machines use different file formats. Some machines can only read specific formats, while others can handle multiple types. For example, Brother machines use the. PES format, while Janome machines are used. JEF.
Design Accuracy
A well-formatted file makes sure that the design is stitched exactly how you want it, with the correct stitch types, colors, and sizes.
Editing Flexibility
Some file formats allow you to make changes to your design after the file is created, like resizing, changing colors, or adjusting the stitch types.
Types of Embroidery File Formats
Embroidery file formats are essential for successfully transferring designs onto various machines. Each format has its own characteristics and is designed for specific purposes in the process.
Below, we explain the three main types of file formats and their features to help you understand how they work.
1. Expanded File Formats
Expanded file formats are universal file types that can be read by most machines, regardless of the brand. They mainly contain stitch data, like where the stitches go and how the machine should operate.
Examples: The most common expanded file formats are.DST (used by Tajima machines) and EXP (used by Melco machines). These formats work well on both commercial and home machines.
Key Features:
- Simple: These formats are straightforward and contain only the basic stitch data, making them less likely to get corrupted when converted.
- No Color Information: They don’t store color details, so the machine will use its default color settings.
- Small File Size: Because of their simplicity, these files are usually smaller compared to other formats.
2. Machine-Specific File Formats
Machine-specific file formats are designed for particular machine brands. These formats not only include stitch data but also contain extra details like color sequences and brand-specific machine commands.
Examples: Popular machine file formats include. PES (used by Brother), JEF (used by Janome), ART (used by Bernina), HUS (used by Husqvarna Viking), and VIP (used by Pfaff).
Key Features:
- Brand-Specific: These formats are customized for specific machines to make sure the best performance and compatibility.
- Color Information: Unlike expanded formats, these formats store color data so the design looks as intended.
- Complex: These formats are more detailed, with extra information for machine functions and settings.
3. Native File Formats
Native file formats are used by digitizing software. They’re made to be used within the software and aren’t directly compatible with machines until they’re converted.
Examples: Some common native file formats are.EMB (used by Wilcom software), OFM (used by Melco’s DesignShop), and PXF (used by Pulse software).
Key Features:
- Editing Flexibility: Native formats are the most flexible for editing designs since they keep all the original design information.
- Software-Specific: These formats are designed for use with specific software and may not be compatible with other programs or machines unless converted.
- Requires Conversion: To use a design in a native format on a machine, it needs to be exported into a machine-compatible format.
How Have File Formats Changed Over Time?
Embroidery files have evolved as technology has improved. In the early days, these files were simple and could only work with certain machines. As embroidery software has developed, so have the formats, allowing for more detailed and complex designs.
- Early Formats: In the beginning, formats were basic and only compatible with specific machines. The files were mainly limited to simple stitch instructions.
- Modern Formats: Today’s formats support more complex designs, such as multi-colored logos, gradient stitching, and detailed effects. These files can now handle more sophisticated stitching, which makes designs appear more professional and detailed.
How are Embroidery Files Created?
When a design is digitized for embroidery, it is first turned into a digital file using specialized software. The process involves several steps:
1. Converting Artwork
The design or logo is converted into a series of stitches, making sure that it can be accurately embroidered onto fabric. This step requires special software that analyzes the artwork and decides on the best way to translate it into stitches.
2. Setting Parameters
Once the design is converted, the digitizer sets the stitch length, density, and type. They also set the color sequence and any other important details.
3. Choosing the Right Format
After digitizing, the file is saved in a format compatible with the machine on which it will be used. The format is chosen based on the brand of the machine, the complexity of the design, and the type of fabric being used.
4. Testing the Design
Before the final design is stitched on the fabric, a test is done to make sure everything looks good. This test makes sure that the stitches are even and the design appears as expected on the material.
How to Choose the Right File Format?
When choosing the right file format for your design, there are a few things you should keep in mind:
- Know Your Machine: Make sure the file format you choose is compatible with your machine. Always check your machine’s specifications to find out which formats it supports. If you’re unsure, consult the manufacturer’s guidelines or user manual.
- Work with a Digitizer: If you’re working with a professional digitizer, let them know what machine you’ll be using and which format you need. The digitizer will create the file format for your specific machine and make sure the design looks great.
- Test the File: After the file is created, always run a test to make sure everything works as expected. This allows you to catch any errors early and make necessary adjustments before starting the final production.
Conclusion
Embroidery file formats are an essential aspect of the process. They determine how the design is transferred from your computer to the fabric, and they play a key role in the quality and accuracy of the final product. With the right knowledge and tools, you can create stunning embroidered designs that meet the expectations of your clients or personal projects.
FAQs
1. Can I Convert Between Different File Formats?
Yes, you can convert files using software or online tools. But be aware that some details might be lost, especially when converting from a detailed format to a simpler one.
2. Why is it Important To Use The Native File Format for Editing Designs?
Using the native file format keeps all your design details intact, allowing for better editing. Converting to another format may remove or simplify some data, making editing harder.
3. What Should I Do If My Embroidery Machine Doesn’t Recognize the file format?
First, make sure you’re using the correct file format for your machine. If the format is right, try converting the file again. If the issue continues, check your machine’s manual or contact the manufacturer. Also, make sure your machine’s firmware is up-to-date for better compatibility.


