
Vector art has become the preferred choice for digital designers. Unlike pixel-based graphics, vector images can scale without losing quality. That’s why logos, illustrations, and print designs often use vectors.
If you’re new, getting started can feel confusing. This guide simplifies the process into easy steps. However, learning vector art basics is easier than it seems. With the help of the right software, tools, and a step-by-step guide, anyone can convert any image to vector.
Let’s walk through some important factors and steps.
Step 1: Understanding The Vector Art Basics
Before getting started, it’s crucial to know what vector art actually is. Unlike raster images (JPEGs or PNGs), which are composed of pixels, vector graphics are constructed using mathematical paths and lines. This makes them scalable without compromising the image quality.
Here are a few benefits of vector art:
- It produces crisp edges of any size.
- Has easy editing and color changes.
- Lightweight file sizes.
- Produces a professional and polished appeal.
Vector art is indeed the go-to format due to all of the mentioned benefits, and is a must-have for logos, prints, plus marketing designs.
Step 2: Choosing the Right Software
The second step is to choose the right software. Vector art is easy, but using appropriate software is essential. Here are a few of the popular tools:
- Adobe Illustrator is an industry standard. It has good features and is best for starters and intermediates, as it is easy to use.
- CorelDRAW is more advanced. It is a great option for professionals and print designers.
- Inkscape, however, is a free, open-source option for beginners and learners.
You can select the one that matches your budget and your skill level. If you’re starting small or are a new business owner, then Inkscape is more than enough to practice vector tracing and simple artwork.
Step 3: Initiating With a Sketch or Image
Most vector projects start with a handmade sketch, a photo, or an existing raster file. Then you can scan your sketch or upload a digital picture. This will be the basis for your design and artwork.
For instance, if you’re creating a custom logo, you might upload a PNG and then convert that image to a vector by tracing it in your preferred software.
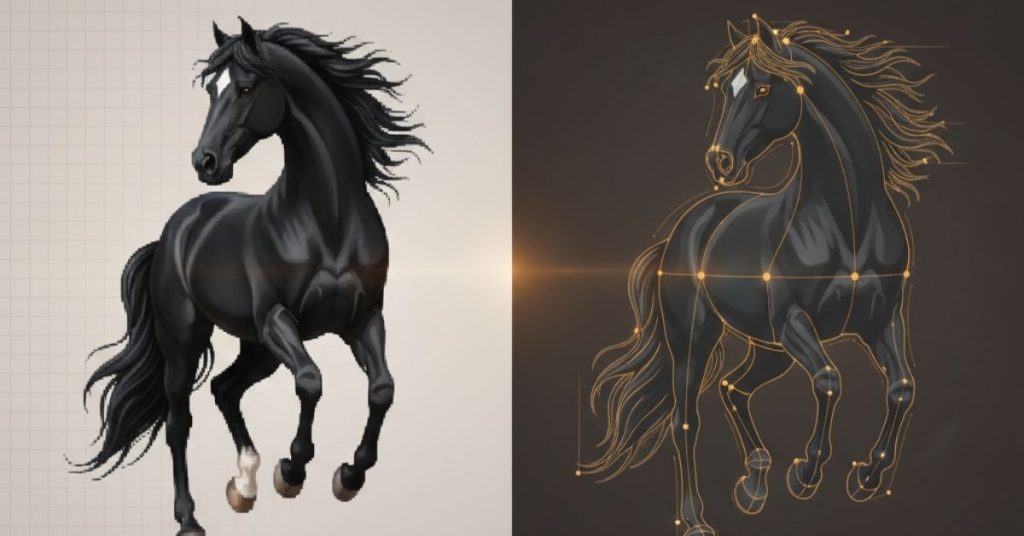
Step 4: What does Vector Tracing mean?
The word tracing means to outline in short to recreate over the existing image. When it comes to Vector tracing, it is the process of outlining and recreating your image in a vector format. How you trace also depends on the software you are using.
With some software, auto-trace tools quickly convert images, but in some, there is a manual tracing option that requires the help of a pen or shape tools. Auto-trace is faster; however, manual tracing gives you more control.
Step 5: Refining Your Paths
This is a cleanup step. After tracing the image, you’ll need to clean up the extra lines. Adjust anchor points, curves, and shapes for a more polished appeal.
Pro tip: Zoom in close when editing. Small changes along your path can make a big difference in the final look.
Step 6: Adding Colors and Details
Once you have your basics and outlines in shape. You should use colours to bring it to life. Try experimenting with solid fills for bold and clean designs. Also, you can create gradients to add depth and dimension. Not to forget, make strokes to adjust line thickness.
Changes are revolutionized until you create a design that matches your vision, so don’t be afraid to try different palettes.
Step 7: Saving in The Right Formats
Lastly, always save your file in two recommended versions:
- An Editable file (AI or SVG) is best for future edits and tweaking.
- The Exported file (PDF, PNG, or JPG) is optimal for sharing or printing.
This ensures you can reuse and resize your vector art whenever needed.
Final Takeaways
Learning vector art basics might feel intimidating, but the reality is the opposite. It is merely a play of understanding how to convert an image to vector, practicing vector tracing, and refining your designs. Moreover, you’ll unlock endless creative possibilities just by practicing.
Start small, do more practice, and soon you’ll have professional-quality artwork ready for any project.
Vector Art Services At Impact Digitalizing
Vector art is easy; you just learn as you go, but if you doubt your abilities or simply don’t have the time, then you can go to companies that offer professional services. Impact Digitizing is a company that transforms ordinary art into extraordinary artwork. Tailored to your needs and desires.
People Also Ask (FAQs)
1. What are the benefits of vector art?
Vector art is scalable, lightweight, and easy to edit. It’s perfect for logos, prints, and digital designs.
2. How do I turn an image to vector?
Upload your file to vector software like Illustrator or Inkscape. Use vector tracing tools to recreate the design in paths.
3. Do I need expensive software to start vector art?
Not at all. Free programs like Inkscape are excellent for learning vector art basics without upfront costs.
4. Is vector art only for designers?
No. Small business owners, marketers, and even hobbyists can benefit from creating simple vector graphics.