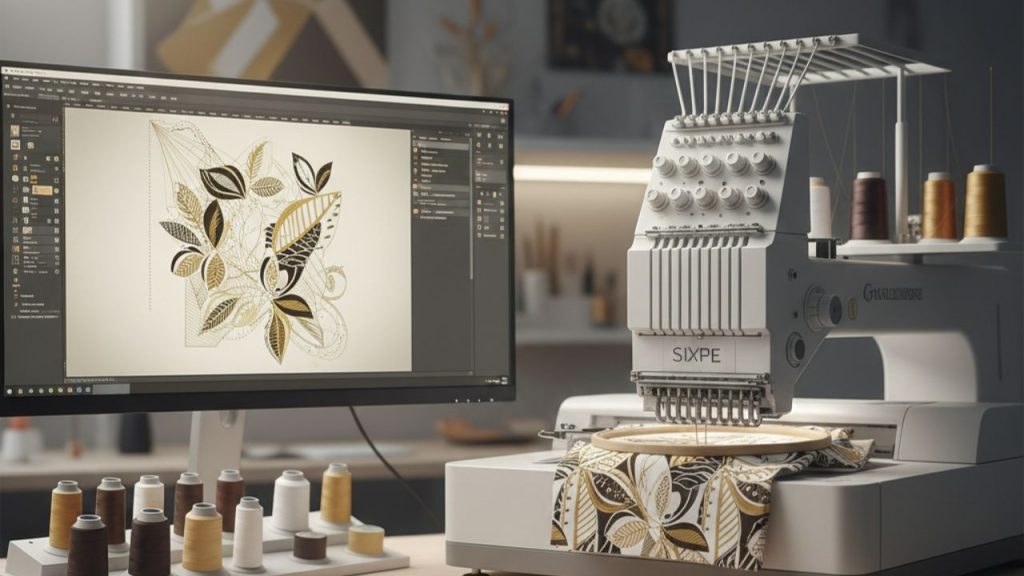

It’s an easy way of making winter hats special. You can have them done for gifts, to represent your brand, or for sale in your store. Impact Digitizing helps transform your artwork into precise, machine-ready designs for beanies. This guide helps you with the tools, setup, and steps you need to get good results on thick knit fabric.
Why Beanies Need a Careful Stitching Approach
Beanies distort and move around while you sew, and having everything set up correctly makes the difference. A good foundation, correct hooping, and a clean stabilizer all work to help the design sew easily. This process, when done correctly, will enable one to make custom beanies that look nice and will last for a long time.
Tools You Need Before Starting
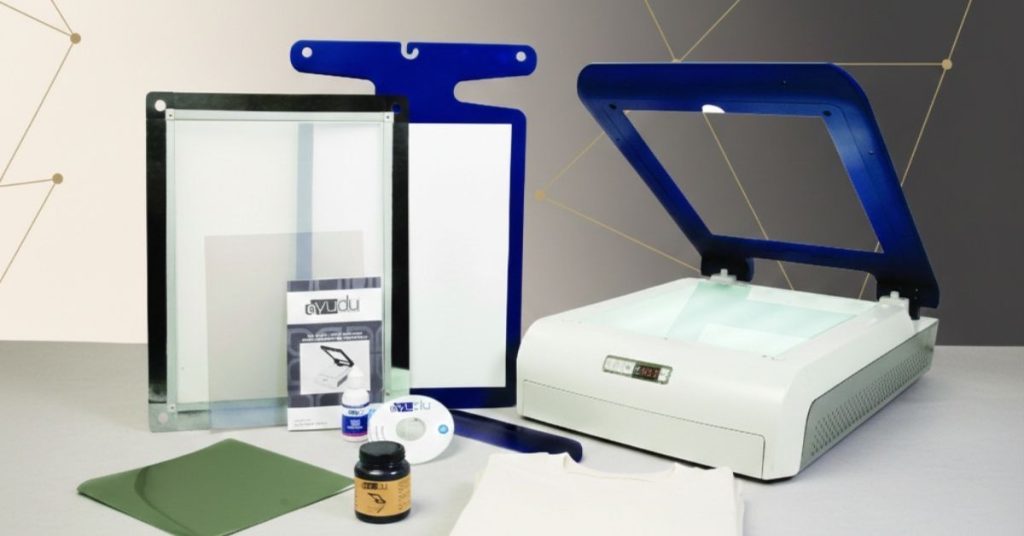
Collect these important things before you start. A simpler setup speeds up stitching and enhances your capability for minute detail handling.
Essential Supplies
- Hand-stitching kit or embroidery machine.
- Tear-away or water-soluble stabiliser.
- A small embroidery hoop.
- Tape or clips.
- Sharp needle for knit fabric.
- Soft backing for inside comfort.
Steps for Clean and Steady Stitching
It is not as challenging as it seems, but this is the part that has always made the beginners a little nervous. If you are a total beginner learning how to embroider on a beanie, pay great attention to these instructions.
Step 1: Prep the Hat
Place the beanie down flat and make sure the knit lines are even. Make sure the front panel is flat. This keeps your design straight when you wear it.
Step 2: Add Stabilizer
Put a layer inside the hat for the design to go on. A water-soluble layer on top prevents the stitches from penetrating the fabric. Good stabilizing is the real key to anyone practicing how to embroider on a beanie without distortions.
Step 3: Hoop the Space
Utilize a small hoop to hold the fabric tight, but do not stretch it. You can tape or clip the edges. Keep your hands steady while you make the hoop tight if it still slips on your hoop.
Step 4: Set Up the Design
Upload your design and see where it will go. Move the needle to the middle to check the right spot. This step is very important for making neat patterns, especially when you want to learn how to embroider on a beanie for logos or initials.
Step 5: Start Stitching
Operate the machine at a low speed. Beanies move around easily, and slower stitching lets the thread fit better into the knit. In case you are sewing by hand, keep the thread loose without pulling on it and maintain uniformity in stitch tension.
Step 6: Remove Stabilizer
After you finish sewing, cut or wash away the extra stabilizer. Gently press the inside to keep the stitches flat. This step keeps the area tidy, so many people think this way is the easiest wayto embroider on a beanie at home.
Best Tips for a Professional Look
Small details make your finished piece look better and more organized.
Keep These Pointers in Mind
- Pick a thicker thread to match the beanie texture.
- Choose simple, bold designs for chunky knit.
- Use a soft backing to avoid scratching the skin.
- Test a small stitch on scrap knit to check tension.
- Keep your hoop tight, but don’t stretch the hat.
Using these ideas in embroidering on beanies makes the work look neat and helps the hat retain its shape.
Common Mistakes to Avoid
Lots of beginners pull the beanie too tight when using it. This causes distorted results after use. Another usual problem is not including the top stabilizer layer, which makes the letters sink into the fabric and look unclear.
Consclusion
Learning this method lets you take charge of your designs and helps you create a few comfortable, personal items. Whether you need one hat or a lot for customers, these steps will help you stitch neatly and consistently every time.
Make every beanie embroidery project flawless—trust Impact Digitizing to provide crisp, machine-ready designs for professional results every time!
FAQs
1. How to wear a beanie like a pro?
Place evenly on the head, then select a tight, comfortable size. Fold the cuff smoothly for a neat look and match it to your outfit.
2. Can a beanie look professional?
Yes, plain colors and simple designs make a beanie look nice and neat. Wear it with fitted or plain clothes to give a polished look.
3. Are beanies in style in 2026?
Beanies, because of their adaptability to provide warmth and comfort, remain famous to this day in 2026.
4. Do 100% acrylic beanies work well?
They are robust, warm, and light, actually. Acrylic beanies maintain their shape nicely and can be used with everything.
5. How do you make a beanie look good?
Don’t overstretch it; select the right size. Makeup matching clothes in color and feel gives it an elegant look.