
Individuals have always used simple lines when it comes to drawing their home, and this new line-based twist on an aged classic is familiar. This method allows you to give your drawings life in a cozy, handmade way. Using clean, well-digitized designs from Impact Digitizing can also help artists turn their doodles into smoother, stitch-friendly outlines. When it comes to doodle embroidery, it’s easy to doodle flowers, faces, and even more once you have an idea of how the steps work, as well as the tools.
What Makes Freehand Stitching Special
This style maintains the playfulness of loose drawing. Perfection is not necessary. The aim is to retain the casual, pen-and-paper feel and enhance it with thread. A design doodler helps organize your ideas, tries out shapes, and keeps your look consistent as you go from paper to fabric.
Gather the Tools You Need
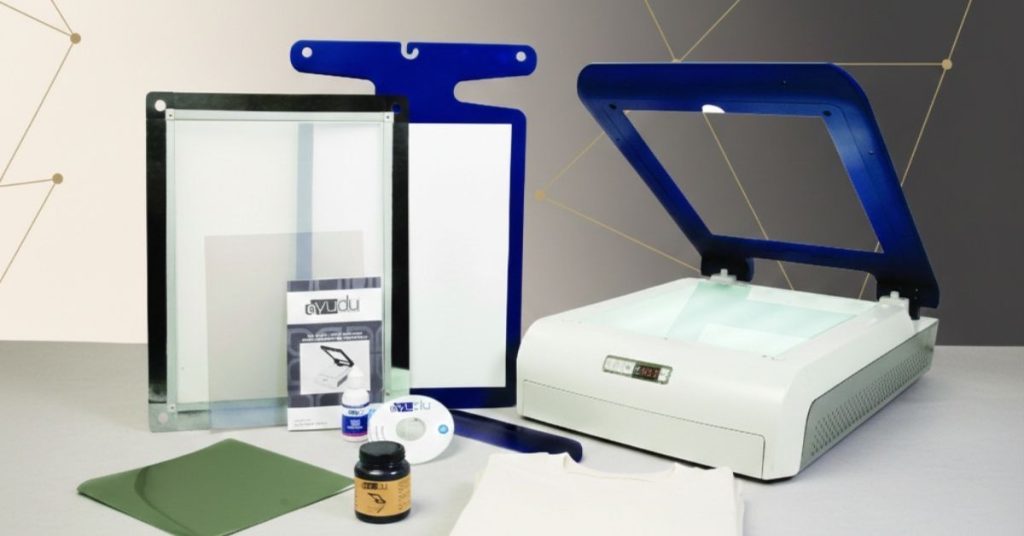
Before diving in, gather these basics.
Essential Materials
- Cotton or linen fabric.
- Embroidery hoop.
- Needles that match your thread thickness.
- Polyester or cotton embroidery thread.
- Washable fabric marker.
- Small, sharp scissors.
These items help you stay organized and make it easier to stitch each part of your drawing.
Sketching Your Idea
On paper, start by doing a simple pencil sketch. Let your lines flow naturally and don’t stress about making everything excellent. If you utilize a design doodler, you can coax smooth curves or nudge things a bit before you transfer to fabric.
Tips for Better Outlines
- Make your brush strokes relaxed.
- Draw shapes that you like.
- Be simple; no unnecessary detail.
- Consider how the design will look when stitched.
- Lightly transfer to the fabric with a washable marker when you are ready.
Choosing the Right Stitches
The beauty of this style comes from using simple stitches that look like pen marks. Most beginners use easy techniques that are good for drawing outlines and shading.
Common Stitches for This Style
- Backstitch for smooth outlines.
- Running stitch for a light, airy look.
- Split stitch for textured lines.
- French knots for accents or dots.
A design doodler helps you to envision which stitches suit different sections.
Adding Texture and Detail
When your main lines are done, you can add some small shaded areas or patterns. Short lines, dots, and tiny shapes give depth without crowding. Balance it out: some negative space makes the design readable.
If you want mixed styles, include color blocks or tiny stitched patterns. A design doodler helps artists try out different color combinations before they decide on the final look.
Finishing and Displaying Your Work
Following completion of sewing, remove from the hoop and cut any loose threads. Give it a mild wash to remove marker lines, then lay flat to dry to avoid creases.
Popular Ways to Display Your Art
- Utilize the embroidery hoop like a frame.
- Sew onto a tote, jacket, or other fabric product.
- Make a small wall decoration.
- Add to patch collection.
Hand-stitched sketches are versatile and make great personalised decor items.
Conclusion
Transform simple doodles into stitched art with this fun way of keeping your drawings as memories. Your ideas can be changed into unique, handcrafted pieces with the right tools, some simple stitches, and some practice. Keep it simple so that your individuality comes out; each will be different, but striking.
From paper to fabric, Impact Digitizing converts your doodles into professional embroidery designs.
FAQs
1. What app is used to turn pictures into embroidery patterns?
Numerous apps like Stitchly and Ink/Stitch convert images into embroidery patterns to make them accessible to everybody, from starters to experts.
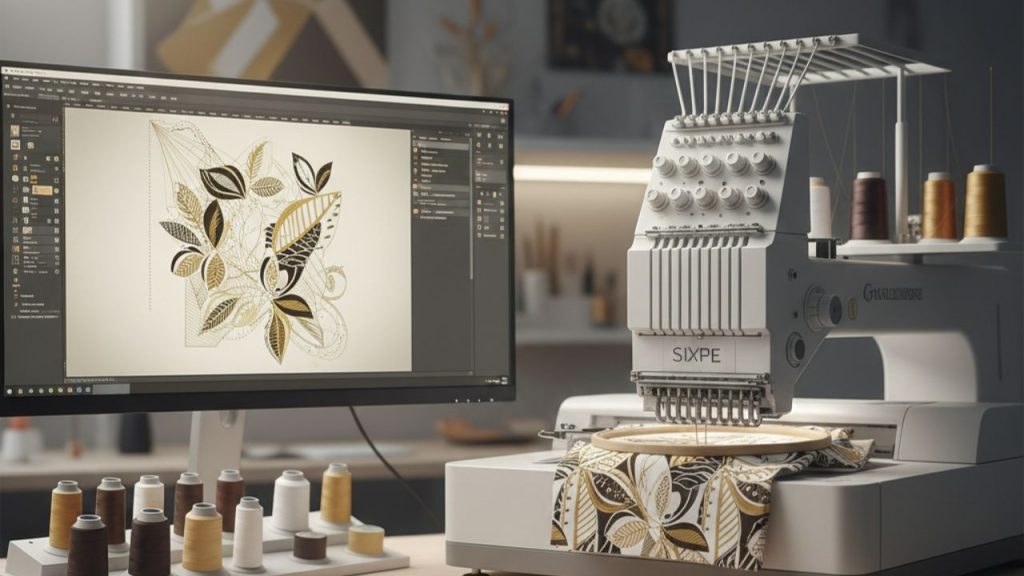
2. How can I digitise an image for embroidery?
Try free tools like Ink/Stitch or a trial version of SewArt. Upload the image, trace edges, and save as a stitch-ready file.
3. Is the Stitchly app free?
Stitchly offers some free features, but full access usually requires a subscription. It’s handy for easy pattern edits.
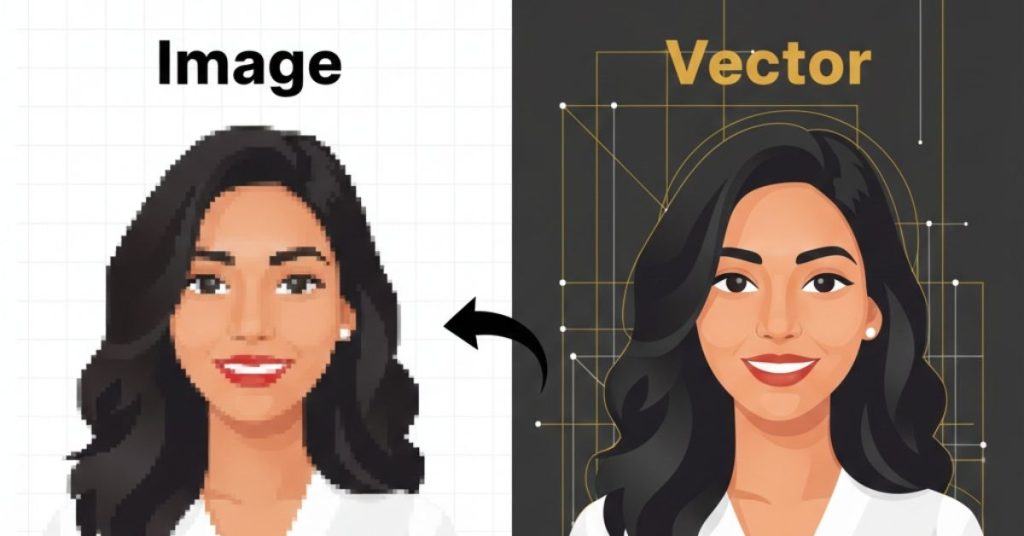
4. How do I digitize my own embroidery designs?
Take a picture of your design or scan it, then utilize embroidery software to convert it into a stitch-ready file.
5. Which file is best for embroidery?
Common formats include DST, PES, and EXP. Select the one compatible with your embroidery machine.