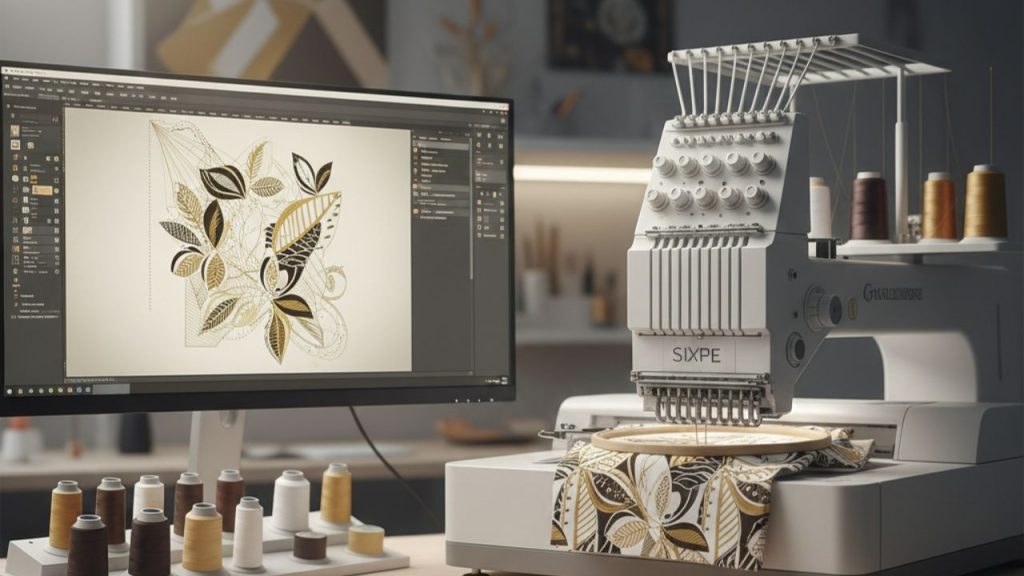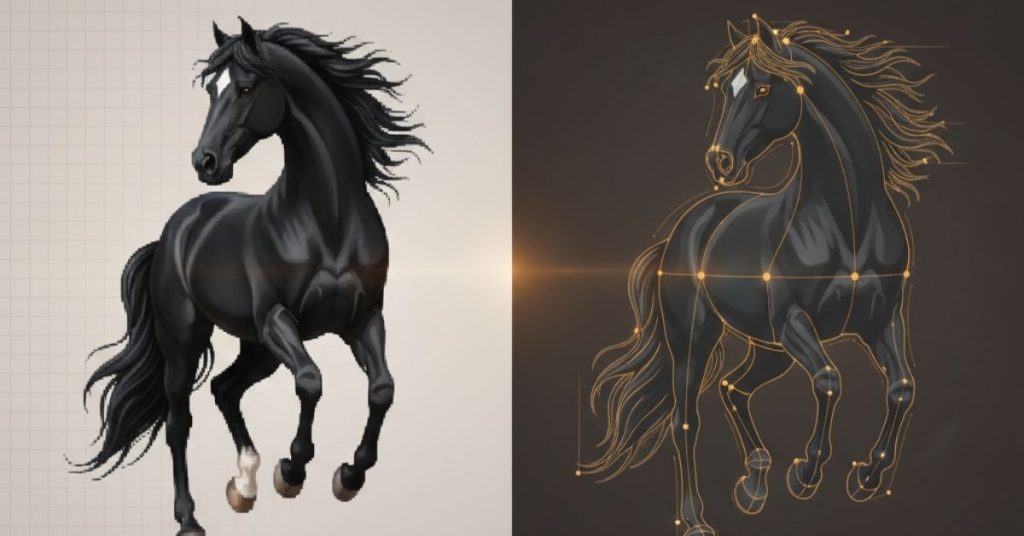
One of the most difficult processes in machine embroidery is transforming complex designs into digital patterns for a 4-inch embroidery hoop using digitizing. The size of the embroidery area in a 4-inch hoop requires careful embroidery and the right amount of thread, with all planning in place to ensure that there are no final messes and that everything is clean. We will learn how a complex design can be converted into a digital file for 4-inch hoop embroidery through an expert embroidery digitizing tutorial.
Understanding the Challenges of a 4-Inch Hoop
A 4-inch hoop is a small embroidery area, and a complex design needs to be simplified while still looking good, especially when dealing with complex embroidery patterns. Compared to larger hoops, small hoops may create problems in converting a design into stitches because of too many stitches, threads breaking, and puckering of fabric. For quality machine embroidery, the design needs to be modified according to the limitations of the machine.
The designs that require complex embroidery have fine lines, lettering, gradations, and over-layering, which is common in complex embroidery patterns. Implement expert digitizing when working with smaller hoop sizes.
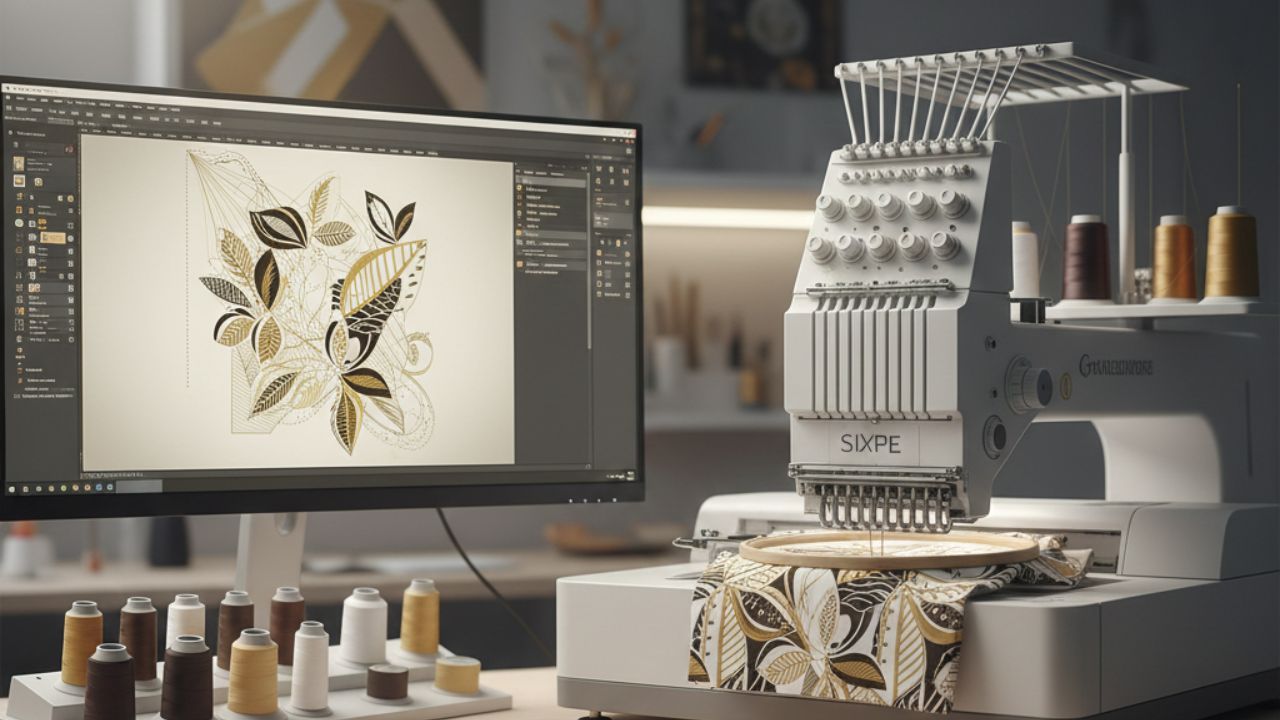
Selecting Suitable Embroidery Sigitizing Software
Many software is not as good as the ones Wesley uses for embroidery. The most preferred software for embroidery digitizing is professional embroidery digitizing software. There are some great alternatives available that have been discussed in this guide on the top free embroidery digitizing software, which mentions some friendly software that can be used for learning purposes and small embroidery projects.
- Advanced stitch simulation: Enables you to view the design as it will be created by stitching.
- Layer management: Speedily empowers you to resolve the same issue with easy stitching of overlapping elements.
- Density and pull compensation: provides constant stitch density by compensating for stitch thickness and pullback.
- Resizing tools: You can resize the design for a 4-inch hoop without losing detail, which is necessary for 4-inch hoop embroidery.
Hatch Embroidery, Wilcom, and Brother PE-Design are the leading software choices. With the assistance of these software tools and professional embroidery digitizing software, control over each stitch is achieved, which is necessary for small designs.
Step-by-Step Embroidery Digitizing Tutorial
This embroidery digitizing tutorial explains the complete process clearly.
1. Analyze and Prepare the Artwork
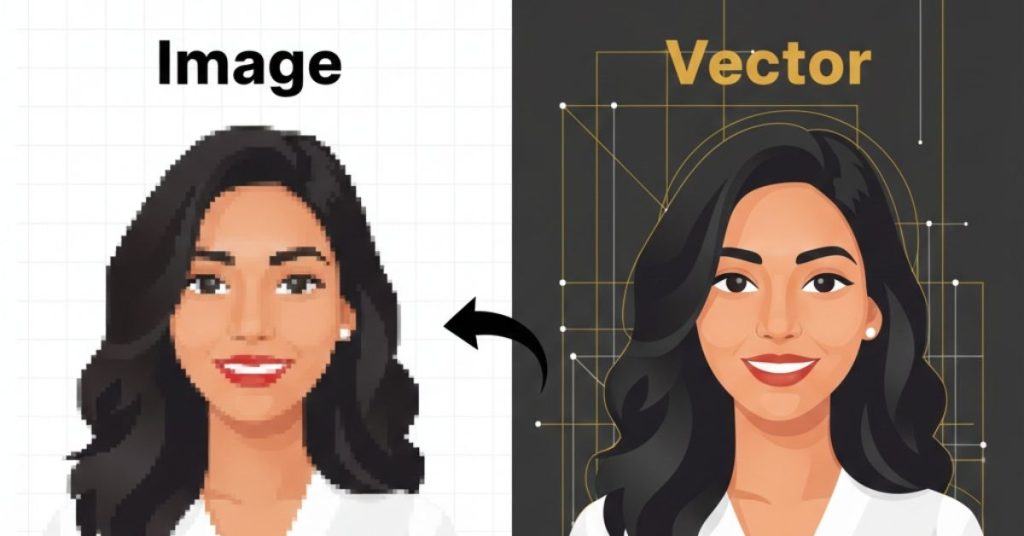
Start by reviewing the design carefully. Identify small details that may not translate well into stitches and determine which areas need simplification. Clean vector artwork produces better digitizing results than low-resolution images for complex embroidery patterns.
2. Optimize the Design for Small Scale
When digitizing for 4-inch hoop embroidery, resizing alone is not enough. You must manually adjust stitch density and spacing. Reducing stitch count while maintaining coverage helps prevent stiffness and thread buildup.
3. Choose the Correct Stitch Types
- Satin stitches work best for borders and lettering.
- Fill stitches should be used cautiously with balanced density.
- Running stitches are ideal for fine details.
Mixing stitch types intelligently helps maintain clarity in 4-inch hoop embroidery designs.
4. Manage Stitch Direction and Underlay
Stitch direction impacts both appearance and durability. This will help keep the design clean and free of any thread-tension issues. The underlay stitches are utilized to support the fabric and ensure that the top stitches are clean.
5. Test Stitch and Fine-Tune
The design has to be tested on a similar fabric and with a similar stabilizer. The tension of the fabric is also used to test the design, which is an important part of any embroidery digitizing tutorial.
Common Mistakes to Avoid
- Overloading the design with excessive stitch density.
- Ignoring fabric type and stabilization needs.
- Using default software settings without manual adjustments.
- Skipping test stitching.
These mistakes are especially costly when working within a small hoop.
What Most Competitors Miss
Many competitors focus only on basic digitizing steps but overlook hoop-specific optimization. Critical issues that are often neglected in embroidery digitizing include the order of stitches in dense designs, the simulation of stitch effects using simulation tools in embroidery digitizing software, and the issue of densities in different fabrics.
Conclusion
The digitizing of complex designs for a 4-inch hoop machine embroidery is not an easy task. It needs professional tools, expertise, and precision. You can produce professional-grade embroidered designs without sacrificing quality if you have a comprehensive embroidery digitizing tutorial and understand the challenges of small-hoop embroidery.
At Impact Digitising, precise digitising of complex designs yields excellent stitch quality regardless of the hoop size.
FAQs
1. How to digitize complex patterns in a 4-inch hoop machine embroidery?
Simplify details, reduce stitch density, manage stitch direction, and thoroughly check stitches.
2. What is the best software to digitize embroidery designs?
Wilcom, Hatch Embroidery, and Brother PE-Design are the best professional digitizing software available.
3. What are common digitizing mistakes?
Excessive stitch density, poor underlay, wrong stitch types, and skipping test stitching.
4. Can AI digitize embroidery designs?
AI can assist, but professional manual digitizing ensures accuracy and stitch quality.
5. Is embroidery digitizing hard to learn?
It is difficult to learn at first, but with training, it can be mastered.