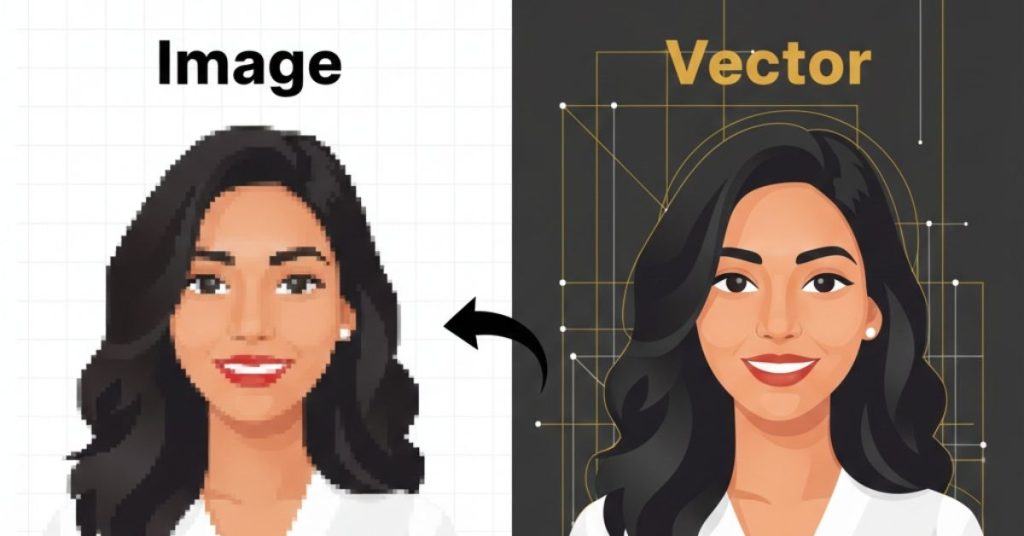

In graphic designs, printing, making embroidery designs, and forming a brand, there is a common requirement to convert png to vector file for professional results. The reason for this is that raster images, such as PNG images, consist of dots that are measured at the pixel level. So, raster graphics cannot be resized; otherwise, blur will occur. While attempting to resize them, they will appear to be blurred. On the other hand, vectors contain purely lines and curves. They can easily be resized with no effect on their quality. This blog will walk you through the process of how to vectorize an image in Illustrator using Adobe Illustrator.
What Is the Difference Between PNG and Vector Files?
A PNG is a kind of picture file. This is excellent for web pictures and those with cutout areas, so you cannot resize this file without losing quality. A vector file does not lose quality if you change its size, and is normally saved as either an AI file, an SVG file, or an EPS file. As they are easy to understand and display beautifully regardless of the image’s scaled dimension, big or small vectors are great for making logos, shirts, cut vinyl letters, signage designs, and craft designs. It is important to learn the basics of how to make a vector image after grasping the meaning of the two image forms, their difference, and their definition.
Why Use Adobe Illustrator for Vectorization?
The most common software used for creating a vector image is Adobe Illustrator. However, it also allows you to trace an image using a tool called Image Trace, where you can convert a picture into a shape. The shapes that are created can then be modified to maintain details, smoothness, and color to the required level. Adobe Illustrator is a better software compared to other online conversion tools if you wish to learn professional ways to make a vector image.
Step-by-Step: How to Vectorize an Image in Illustrator
You require a pixelated version for the conversion process, which would convert your PNG image into a vector image in Illustrator. This is accomplished using the Image Trace tool. You will also acquire a scalable file, more crisp edges, and a degree of precision through doing that. These steps are explained in detail for both a beginner and an expert on how to convert an image into a vector image in Illustrator.
Step 1: Prepare Your PNG File
The optimal outcome will be attained when you choose a good picture that has clean edges and an uncomplicated background. A picture can hold simpler designs and colors compared to blurry or too detailed images.
Step 2: Open the Image in Illustrator
Open Adobe Illustrator to accomplish the next step. The next step includes opening a new document in Adobe Illustrator. Go to file> place and place your selected PNG onto the artboard. Choose the image.
Step 3: Use Image Trace
Select the image and then open the Image Trace panel from the Window menu. Choose a preset based on your design:
- Black and White Logo for simple line art.
- Color for multi-colored graphics.
- High Fidelity Photo for detailed images.
Turn on Preview to see results in real-time. Change the settings like Threshold, Paths, Corners, and Noise to make the trace better. This is one of the most important steps in how to make a vector image accurately.
Step 4: Expand the Vector
When you’re happy, click on Expand. This turns the traced image into paths that can be changed. You are now in a position to sort the art and eliminate what you do not need.
Step 5: Refine the Artwork
Use the Direct Selection Tool to make edges smooth, fix shapes, and tidy up anchor points. This step makes sure your vector file is ready for printing or digital use.
Saving Your Vector File
After changing the PNG, save the file as a vector file.
- AI: Great for making changes and updating in Adobe Illustrator. This format keeps all parts, paths, and things you can edit.
- SVG: Best for websites and digital platforms because it is lightweight and looks good on any screen size.
- EPS: It is mostly used for professional printing, signs, cut vinyl, and for embroidering, as it is suited for a variety of applications.
The choice of vector graphic image file type should correspond to the following critical criteria: the image is usable, can be compatible with other programs, and will show properly.
Common Issues and How to Avoid Them
The common vectorization issues generally tend to arise due to the poor quality of the images or the improperly adjusted Image Trace options. Anticipating issues can lead to the creation of better vectors that can subsequently be corrected to some extent.
- Jagged edges: Utilize a clean PNG image and blur the edges by changing the settings in Image Trace to soften the edges.
- Too many anchor points: After enlarging your image, simplify your paths manually or in Illustrator to make your image have smooth-curves in Illustrator.
- Color distortion: Change the color options in Image Trace or limit the number of colors for an accurate result.
Conclusion
Knowing how to convert a PNG file to a vector file in Illustrator is a useful ability to possess for a designer or a business. This is because you will be able to convert the normal photographs into malleable forms that are suitable for professional use if the right technique and the Image Trace tool are used.
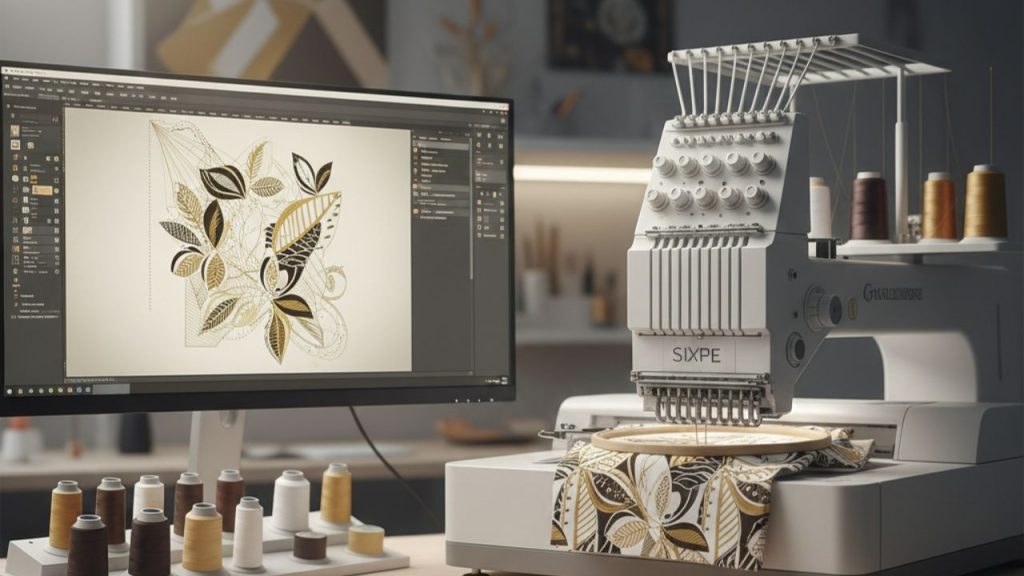
Understanding how to vectorize an image in Illustrator will be of great advantage when you are utilizing the images for embroidering, logos, and printing.
Impact Digitizing provides accurate, production-ready vector conversions with consistent quality and professional industry standards.
FAQs
1. How do I convert PNG to vector?
Employ Adobe Illustrator’s Image Trace tool and expand and refine these paths.
2. How to convert an image into a vector?
The image is to be imported into Illustrator, traced, expanded, and modified into vector paths.
3. Is vector better than PNG?
Yes, vectors scale without losing quality, unlike PNG raster images.
4. Why choose vector over PNG?
Vectors offer infinite scalability, cleaner edges, and better results for printing and branding.
5. Which is the best vector file?
AI for editing, SVG for web use, and EPS for printing and embroidery workflows.