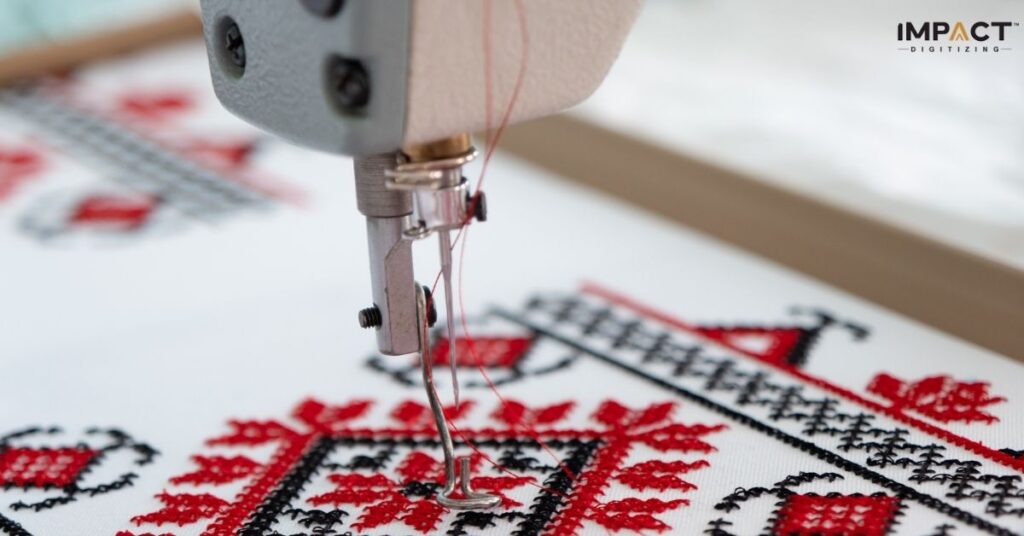

Embroidery, a century-old form of art that holds traditional value and persona. In the modern world, digitalization is now the epitome of art. This technique to convert photo to embroidery with the help of software is a way of remembrance, and branding at the same time.
You can convert your favorite images and pictures with the help of a digitalized picture to embroidery converter software. However, it is not as simple as it sounds. It requires precision and expertise.
In this blog, we have highlighted the journey from pixel to thread, which will open up several creative possibilities to capture your favorite moments. Let’s get started.
What It Means to Turn a Picture into an Embroidery Pattern
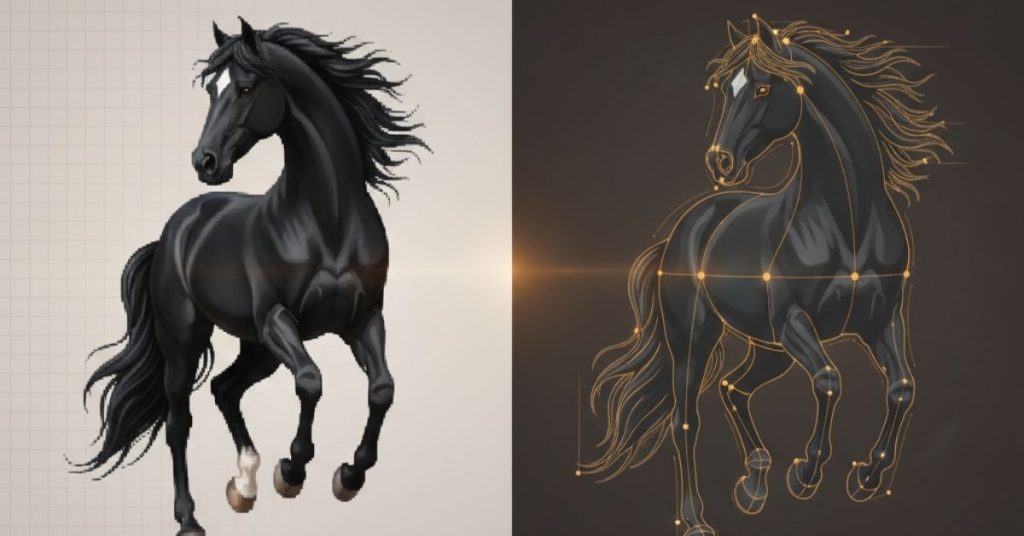
When you use a photo to embroidery converter, you transform a digital image into data your embroidery machine can read. That data tells the machine where to stitch, what angles to use, and how dense stitches should be.
It’s not just converting formats. It’s mapping light, shade, borders, and texture into thread paths that make sense.
Turn Picture into Embroidery Pattern: Applications
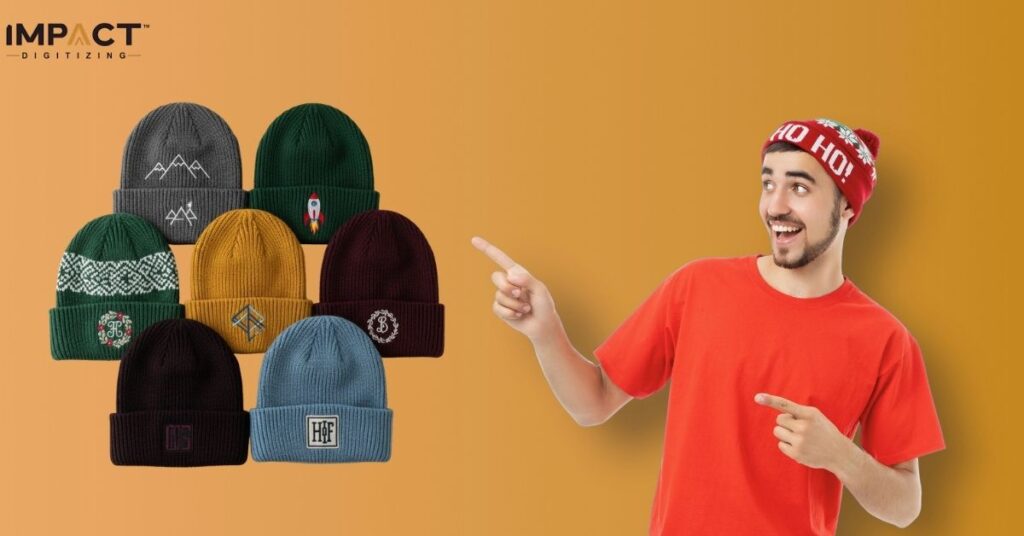
When you turn a picture into an embroidery pattern, you create a clean, ready-to-stitch design.
People use this technique for:
- Business logos and branding
- Personalized gifts
- Event merchandise
- Fashion details
- Home décor
- Sports merchandise
- School uniforms
Unlike hand tracing, digitizing gives you accuracy, speed, and clean stitch lines.
Understand embroidery and photo format.
Understanding if the file or the format is supported is necessary. Therefore, we have highlighted both photo and embroidery supporting formats.
Photo Formats: JPEG and PNG are the most common and widely used. They support high resolution and color depth, which makes them suitable for creating embroidery designs.
- JPEG : offers efficient compression; it reduces file size while maintaining good visual quality. It supports nearly all the colors, making it ideal for detailed images.
- PNG : also reduces file size without loss of information. It supports transparent backgrounds, making it suitable for images that require clear details.
Embroidery File Formats: Embroidery machines only read specific formats like DST, PES, or JEF, according to which they support. This contains detailed stitching instructions, including stitch types, colors, and sequences. For example,
- Singer: XXX
- Janome: JEF
- Bernina: ART
- Husqvarna/Viking: HUS, VP3, VIP
8 Steps to Convert a Picture into an Embroidery Pattern
Turn your favorite photo into stunning thread art with these 8 simple steps from choosing the right software to running your final stitch test.
Step 1: Selecting your software
Now that we know both the file formats, let’s begin with how the conversion actually happens.
Before selecting your image, select your software. An embroidery digitalizing software is a tool to convert supporting image files to embroidery patterns. You can use this software to import photo files from your computer to the machine. These programs have the necessary editing tools to adjust color, size, design, and tone. Some even offer 3D previews.
However, this can be challenging if you are a beginner. Some factors also depend on the nature of the software. If you are using manual software, then it will consume time; if it is automated, then it will require some expertise. Most importantly, using paid software alone comes with a hefty price tag.
However, considering all the pros and cons, selecting the right embroidery software is crucial. Whatever the case, hiring an in-house digitalizing service provider always does the job.
Step 2: Choose the Right Image
A good result starts here. Look for a photo that has.
- High resolution and clarity. The better the quality of the image the better the quality.
- Clear contrast between subject and background. Minimal background clutter.
- As a beginner, start with simpler images that are easy to digitalize.
Photos with too many tiny details or soft edges often fail during digitizing.
Step 3: Clean the Image
Before you feed it into a converter, edit it. Use photo tools to:
- Resize, crop and edit the subject.
- Increase contrast.
- Remove backdrops or distractions.
- Decrease the number of colours if the photo is very colourful to make the cap digitizing process more manageable.
This cleanup helps the converter focus. It reduces errors in stitch mapping.
Step 4: Use a Good Image to Embroidery Converter
Now that the photo is prepped it is time to digitalize it. Pick a converter that gives control, not just auto modes. The best ones let you:
- Adjust stitch types (satin, fill, outline or Run stitch).
- Control density and stitch direction.
- Export to formats like DST, PES, or EXP.
Some converters are free. Others cost. Use one that balances usability and control.
Step 5: Define Stitch Areas
Once your image loads into the converter, don’t just accept defaults. Outline each part of the design to ensure precisionYou must:
- Assign proper stitch types per section (outsides, fills, borders).
- Set underlay stitches to stabilize areas.
- Limit stitch density so the fabric won’t pucker.
These choices determine how clean your final embroidery will appear.
Step 6: Preview & Adjust
Always preview before exporting. Check for:
- Gaps or over-stitched regions.
- Jagged edges or spiky lines.
- Thread breaks or overlapped layers.
Zoom in where you see trouble. Fix those spots. This step saves frustration later.
Step 7: Export to Your Machine Format
Save your pattern in a format your embroidery machine accepts. Common ones are:
- DST
- PES
- EXP
- JEF
Also, save a backup editable version (if the software allows). You may need to tweak later.
Step 8: Run a Stitch Test
You don’t jump to your final fabric. Use a scrap piece. Test the design to check:
- Color accuracy
- Thread tension
- Placement correctness
Fix issues if there are any and then proceed to final embroidery.
Why Some Conversions Fail: What to Watch for
Here are some common digitalizing mistakes due to which some conversion might fail.
- Too many tiny details in the photo.
- Low contrast or clustered backgrounds.
- Overly complex color gradients.
- Lack of underlay or poor stitch density settings.
- Improper formatting of the file.
- Not converting to the compatible file format.
These mistakes are common for beginner. Hence, it is recommended to use simple images first and gradually work your way up as you gain experience. Following the right order and technique will help reduce these errors.
Conclusion
In this guide we have underlined all the important steps into making the perfect digitalized embroidery. This blog provides insight to software and various tips to create and troubleshoot during the procedure.
Converting a photo into an embroidery pattern is both art and science. It might initially not be simple but with time you will get the hang of it.
If you ever want a flawless, production ready file, Impact Digitizing can do it for you. Ready to go? Upload your photo now and get a perfect embroidery file you can trust.
FAQ
Can I convert photos for free?
Yes. Tools like Ink/Stitch or basic free converters can do it. But results may need heavy manual adjustment.
What file format do I need for my machine?
That depends on your machine. DST works on many commercial machines; PES is common for Brother models. Check your machine’s manual.
Is auto conversion enough?
Not always. Auto gives a base. You still need manual fixes to get good quality.
How long will this take?
Simple designs might take 10–30 minutes. Detailed images can take hours, especially with fine edits.
Can I do this myself?
Yes, with practice. But for high-quality, clean work, especially for clients having a professional digitizer helps.