You open a logo file someone sent you and it’s a tiny, blurry JPG. You zoom in and it looks like you opened a Minecraft game.
Now you’re stuck trying to print this thing on a banner, and it’s falling apart pixel by pixel.
Sound familiar?
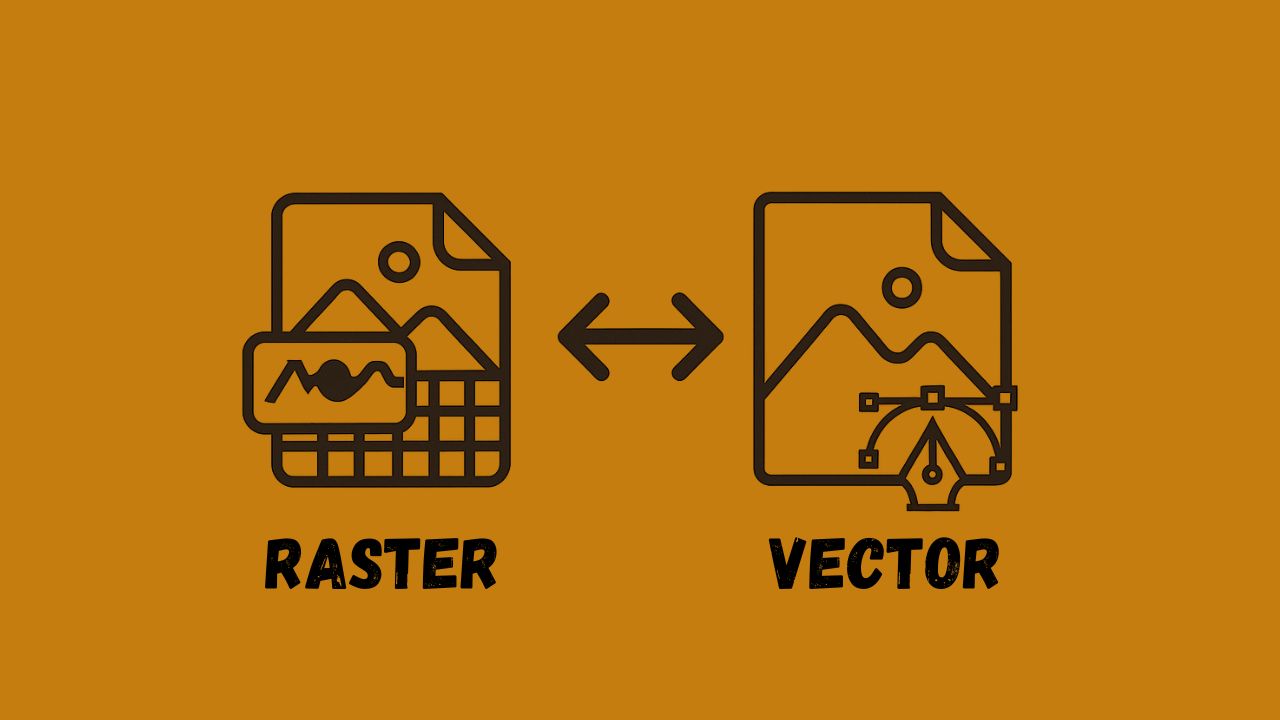
That’s the pain of working with raster images. They’re everywhere; screenshots, photos, social media graphics and they’re great, until you need to scale them. When sharp lines and clean curves matter, raster fails. That’s when vector graphics become useful.
Let’s talk about how to convert a raster to vector, why it matters, and how to actually do it without a design degree or expensive software.
So, What’s the Big Deal With Vectors?
Raster images are made of pixels. Like tiny colored squares arranged to form an image. Zoom in too far, and those squares become obvious.
Vector images, on the other hand, are built using paths and points. They don’t rely on resolution. You can stretch a vector image to the size of a billboard or shrink it down to a thumbnail, it stays crystal clear either way.
If you’re a designer, printer, marketer, or anyone who ever works with images: vector designing is the best for you to work with.
The Real Problem with Raster
Let’s say you’ve got an old logo in PNG format. It looks fine on your screen. But when you try to use it on your business card, print materials, or even your website header – it starts to look off. Blurry. Blocky. Unprofessional.
That’s not just an aesthetic issue; it’s a brand credibility issue.
Now imagine turning that same blurry PNG into a clean, editable SVG that scales perfectly, looks sharp everywhere, and can be easily customized for any format.
That’s what converting raster to vector is all about.
1. Pick the Right Image to Convert
Not every image converts well. Logos, icons, symbols, and simple illustrations? Easy to convert.
Photos, paintings, and detailed artwork? More complicated.
Before jumping into any software, clean up the image. Remove any unnecessary background, increase contrast if needed, and keep the shapes clear. The simpler the image, the better the vector result.
2. Use the Right Tools (Free or Paid)
If you’re new to design tools, this can be a bit overwhelming. But don’t worry because you’ve got options.
Adobe Illustrator is one of the best software. It has a feature called Image Trace, which lets you convert raster files into vector shapes with just a few modifications. Upload your image, adjust the settings (like color, path smoothness, and threshold), then click “Expand” and that’s it – you’ve got a vector.
But Illustrator isn’t free.
So if you’re looking for free options, check out Inkscape; a solid open-source tool that can trace bitmaps into vector paths. It’s not that advanced, but it gets the job done for logos and illustrations.
Then there are online tools like Vectorizer.io or Vector Magic. These are simple: upload your raster file, let the tool do its work, and download the vector version. Easy.
Each tool has its pros and cons, but the good part? You don’t need to be a designer to use them.
3. Fine-Tune and Clean Up Your Vector
Converting is just the start. Now comes the tweaking. Once you’ve traced your raster image into a vector, you may notice some rough edges or unnecessary paths. This happens especially if the original image wasn’t super clean.
That’s where vector editing tools save the day. You can manually adjust the anchor points, remove unwanted shapes, simplify curves, and make the final design look exactly how you want it.
Pro tip: If your vector looks too complicated, reduce the number of points or smooth out curves. This makes the file lighter and easier to work with later.
When Should You Not Vectorize the Image?
Not every image should be turned into a vector.
Photos with thousands of colors and gradients? Not ideal. You can technically vectorize them, but the result often looks more like a posterized painting than a usable graphic.
Vector is perfect for designs that rely on clean lines, flat colors, and sharp edges like logos, stickers, icons, and illustrations. If your image looks more like a photo and less like a drawing, you might be better off leaving it as a raster.
File Formats to Be Used
Once your raster image has been successfully converted, it’s time to save it in the right format.
- SVG: Ideal for web use. Small file size, loads fast, super sharp.
- AI: Great if you’re using Adobe Illustrator.
- EPS: A universal vector format used in printing and design.
- PDF: Useful for sharing across platforms, especially for print.
These file formats preserve the vector quality, meaning they scale, stay editable, and print easily.
A Quick Word on Accuracy
Automatic tracing is convenient, but it’s not perfect. If you’re working on a client logo or anything that requires high precision, manual tracing might be the better route. It takes longer, but you’ll have total control over how each line and curve is formed.
A lot of designers start with auto-trace as a base, then clean things up manually.
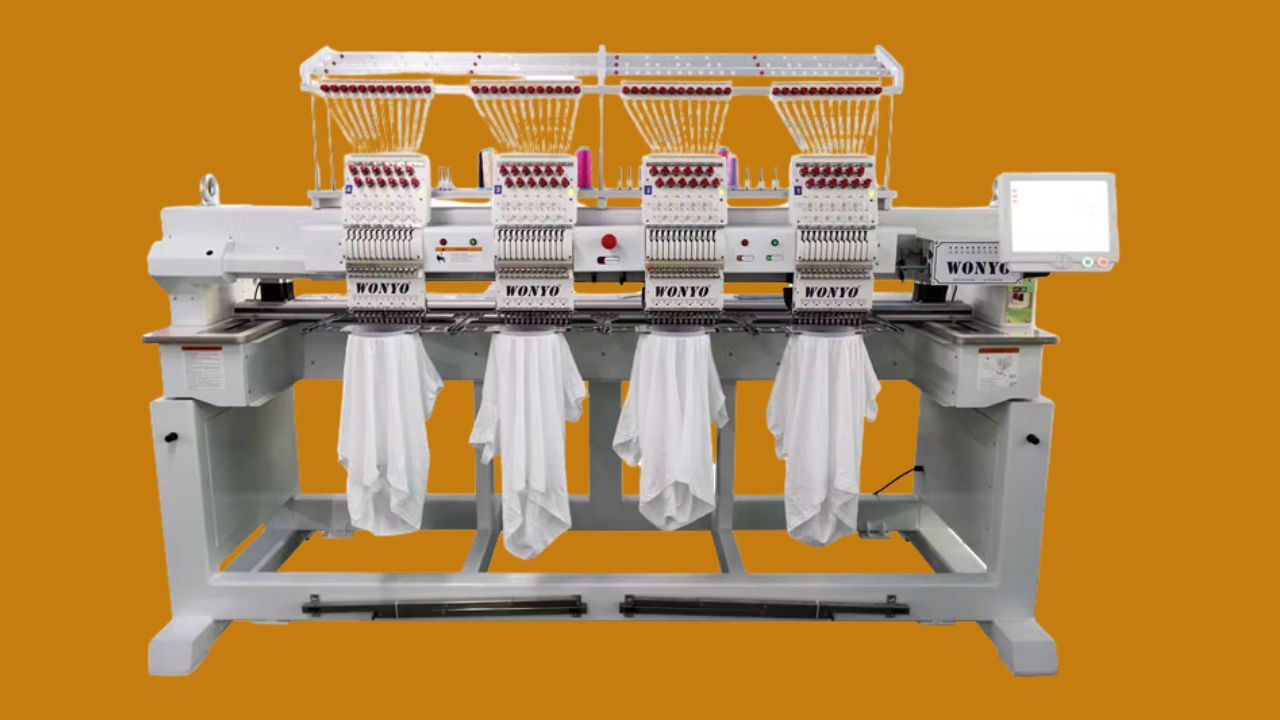
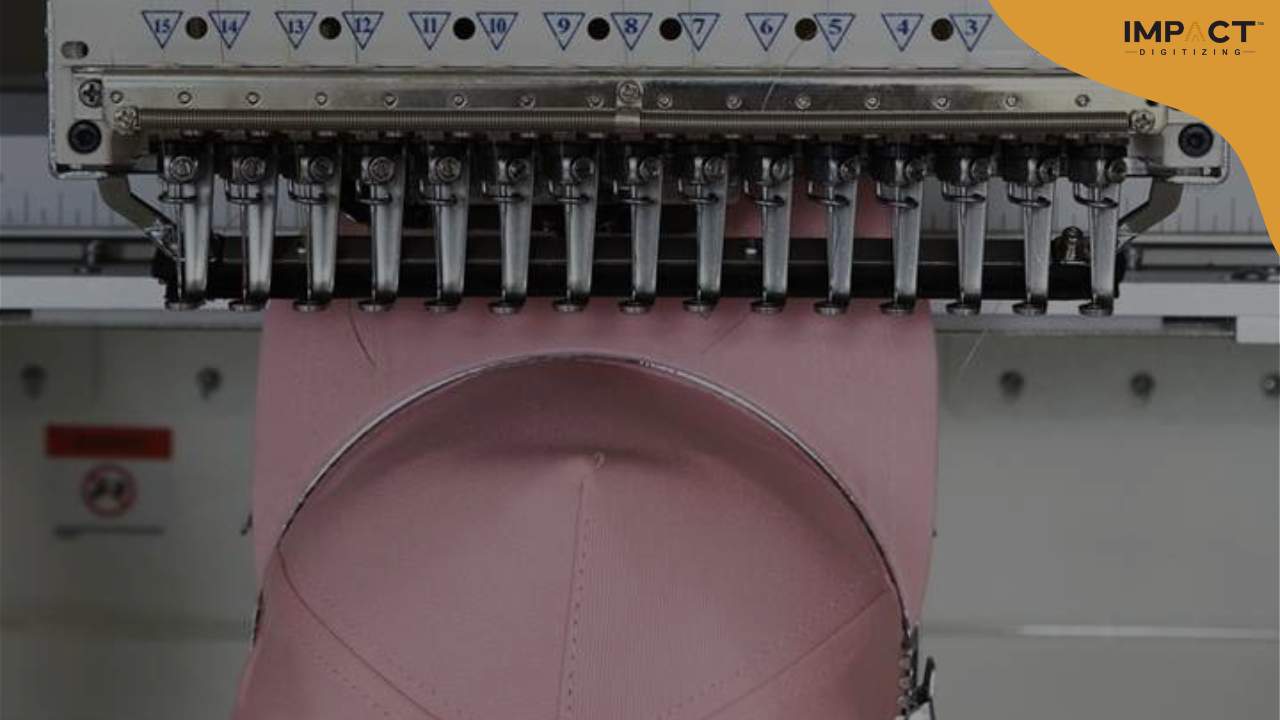
How This Helps in Embroidery Digitizing
Embroidery machines don’t read JPGs or PNGs. They need digitized files and digitizing starts with clean vector files. If your logo or artwork is pixelated or unclear, it can lead to messy stitches and poor embroidery.
At Impact Digitizing, we use vector-ready files to make sure your embroidered logos are clean, sharp, and true to the design. Whether it’s a hat, polo, or hoodie, the stitch path depends on a precise vector.
Conclusion
If you’ve ever dealt with blurry logos or messy image scaling, converting a raster into vector can really help. It gives you more control, keeps your designs sharp, and makes your work future-proof.
And you don’t need to be a pro. With the right tools (even free ones), a clean image, and a bit of editing, you can turn even a messy JPG into a sharp, scalable, professional design.
So next time you’re handed a low-res image and asked to fix it, you’ll know what to do and how to do it right.
FAQs
1. Can I convert a low-resolution raster image to a high-quality vector?
Yes, but a vector doesn’t magically add detail to a low-res image. It creates paths based on what it sees. So if your original image is super blurry or pixelated, your vector will still need cleanup. The better the source, the better the vector. Always start with the cleanest version you can find.
2. Is vector better for printing than raster?
Definitely. Vector files are great because they don’t depend on resolution. They’ll print clearly no matter the size – whether it’s a small business card or a huge billboard. Raster files, like JPGs or PNGs, can get blurry or pixelated when resized, especially if they weren’t high-res from the start.
3. What’s the easiest way to tell if a file is vector or raster?
Just do a quick test: zoom in. If it gets blurry, it’s a raster. If it stays smooth and sharp no matter how far you zoom, it’s a vector. You can also check the file type – vectors are usually saved as SVG, AI, EPS, or PDF (vector-based). Raster images are JPG, PNG, BMP, or GIF.
4. Will converting to vector change the colors of my image?
It can especially if your image uses gradients, shadows, or lots of tiny color shifts. Vector tools often simplify colors into flat shapes, so you might notice differences. Some tools let you adjust color settings during conversion, so always preview and adjust before finalizing.
5. Can I edit a vector image after converting it from raster?
Absolutely and that’s the whole point. Once it’s a vector, you can change colors, reshape elements, delete pieces, or scale it however you want. Just make sure you’re editing it in a proper vector editing program like Illustrator or Inkscape.